
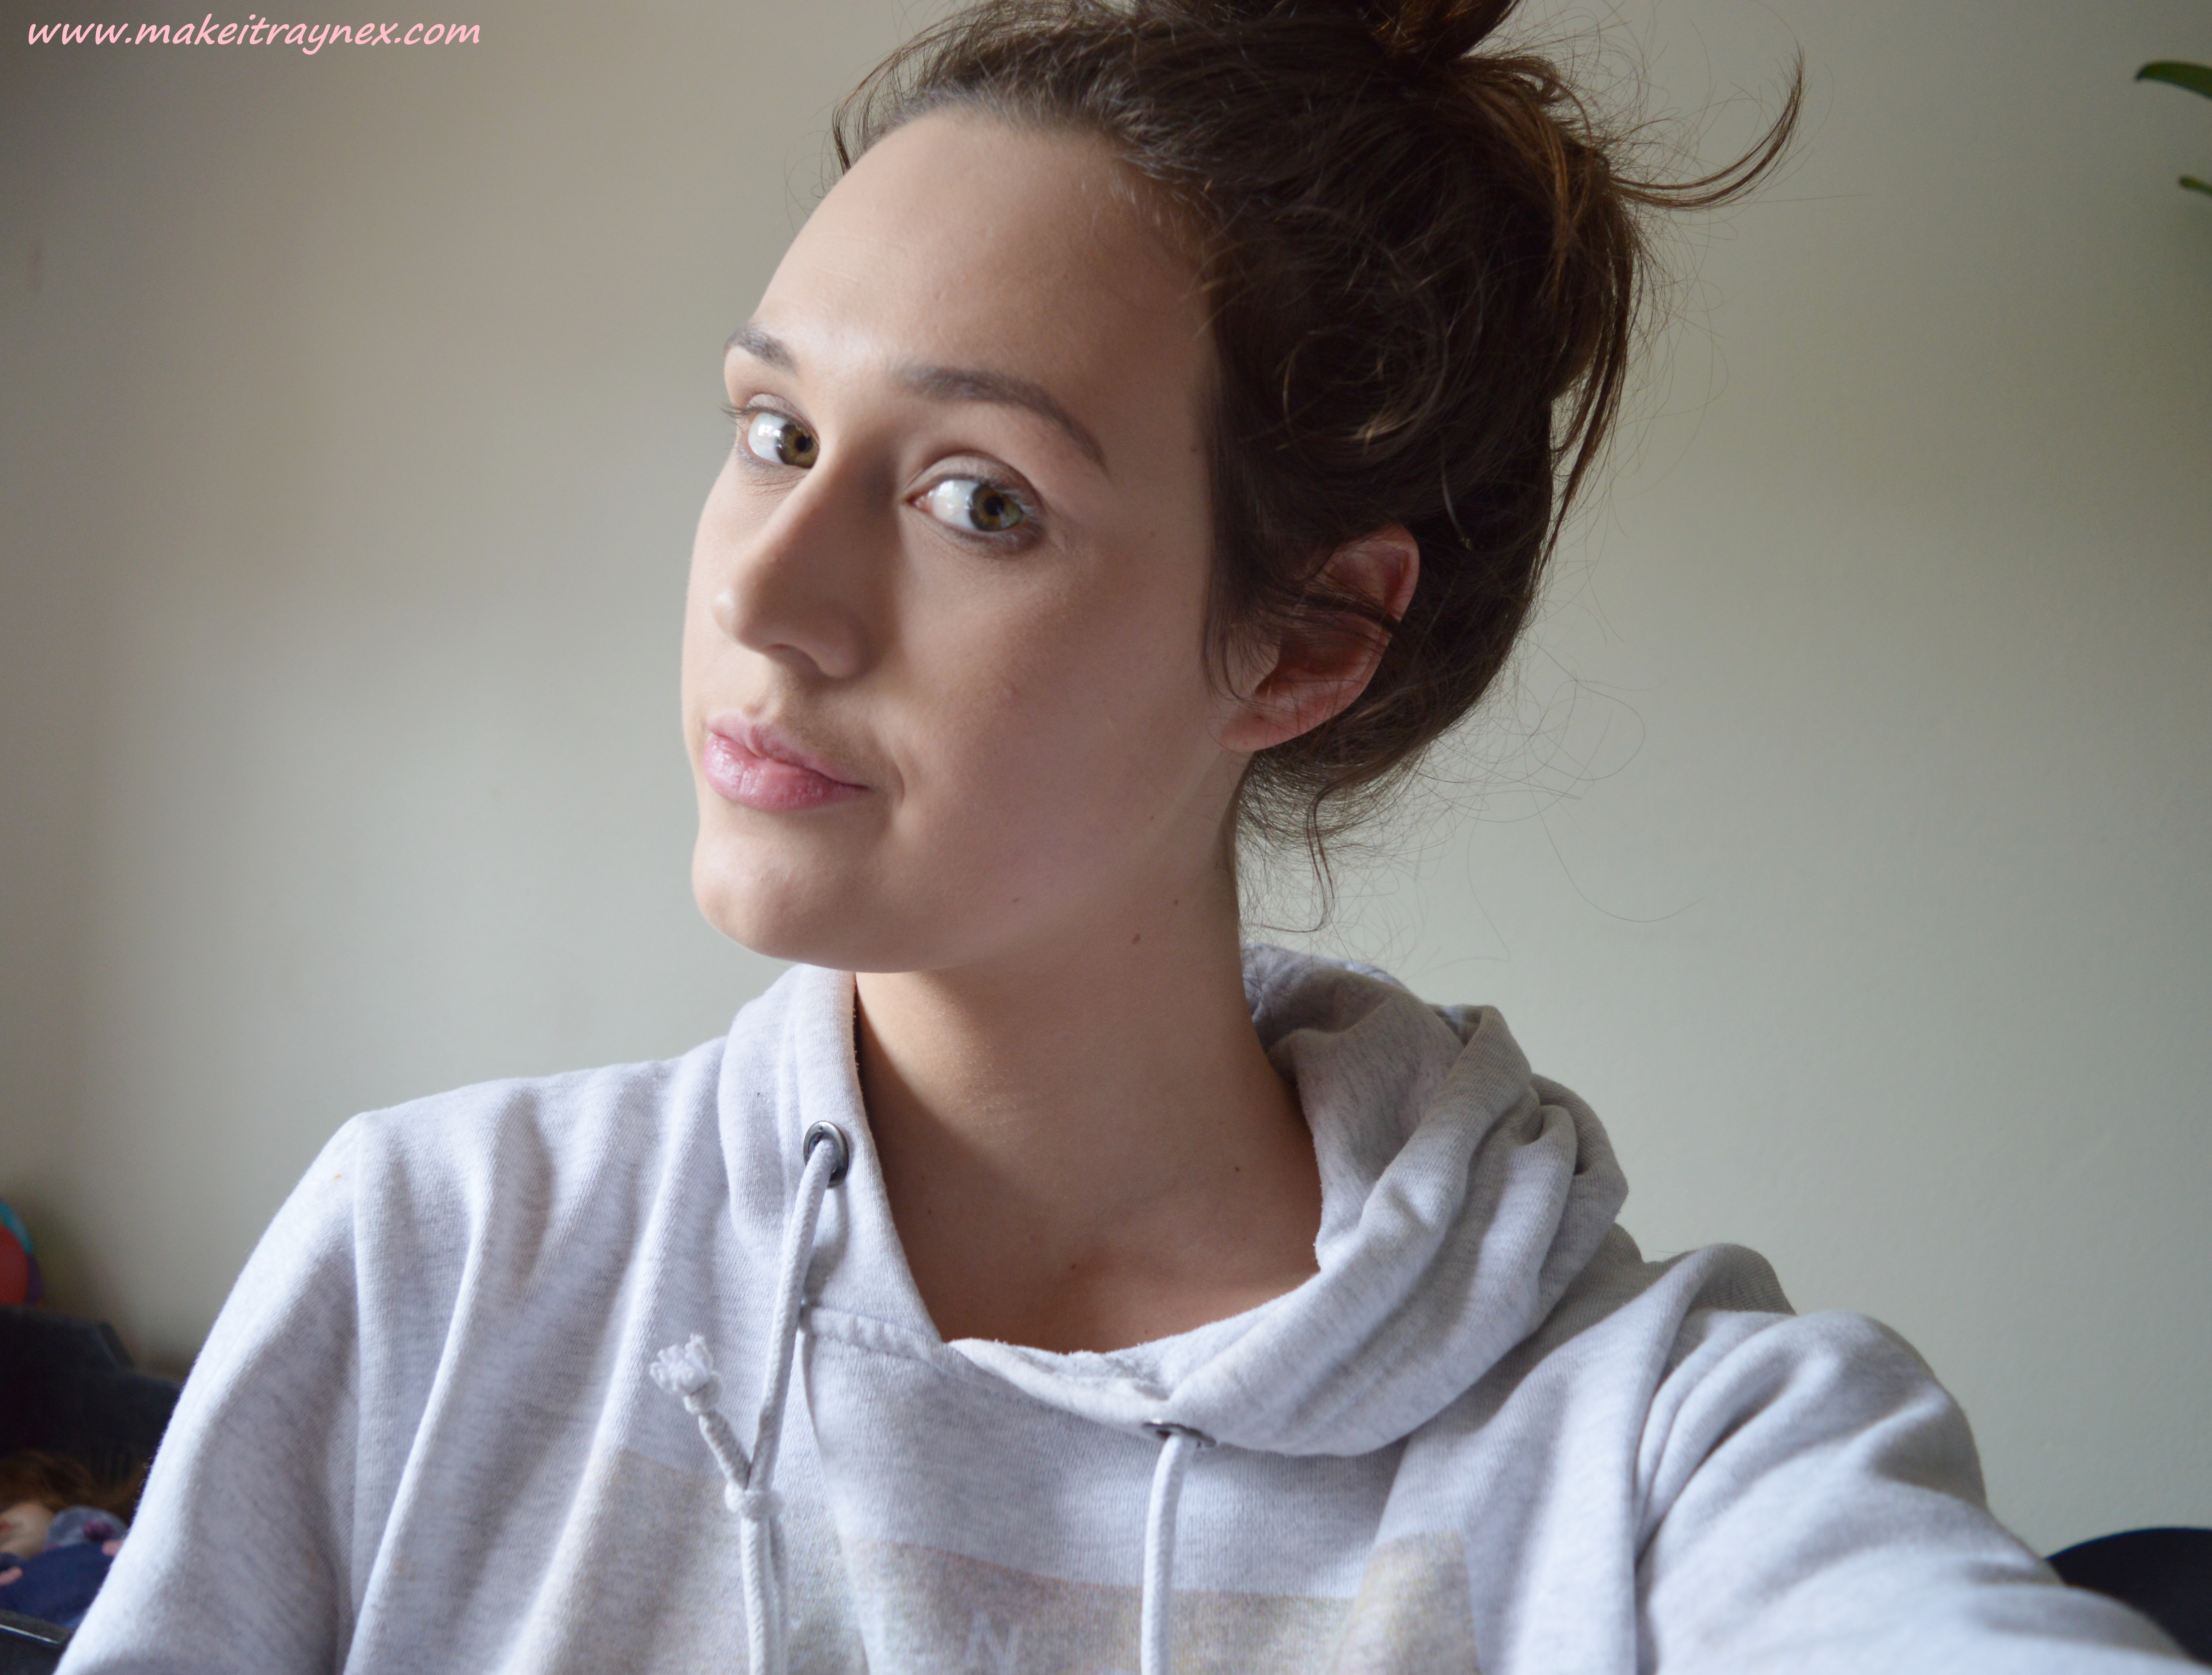
We are officially in the throes of Spring and I am welcoming it with open arms! I have always been a Winter baby but Cape Town threw us one heck of a Wintery Winter this year and these sunshiney mornings and clean air seem to be doing wonders for everyone.
So a Spring time look is just the thing to showcase on my blog right now (as I have not done a full face look in a while) and I decided to add a second theme; a GOSH ONLY look!
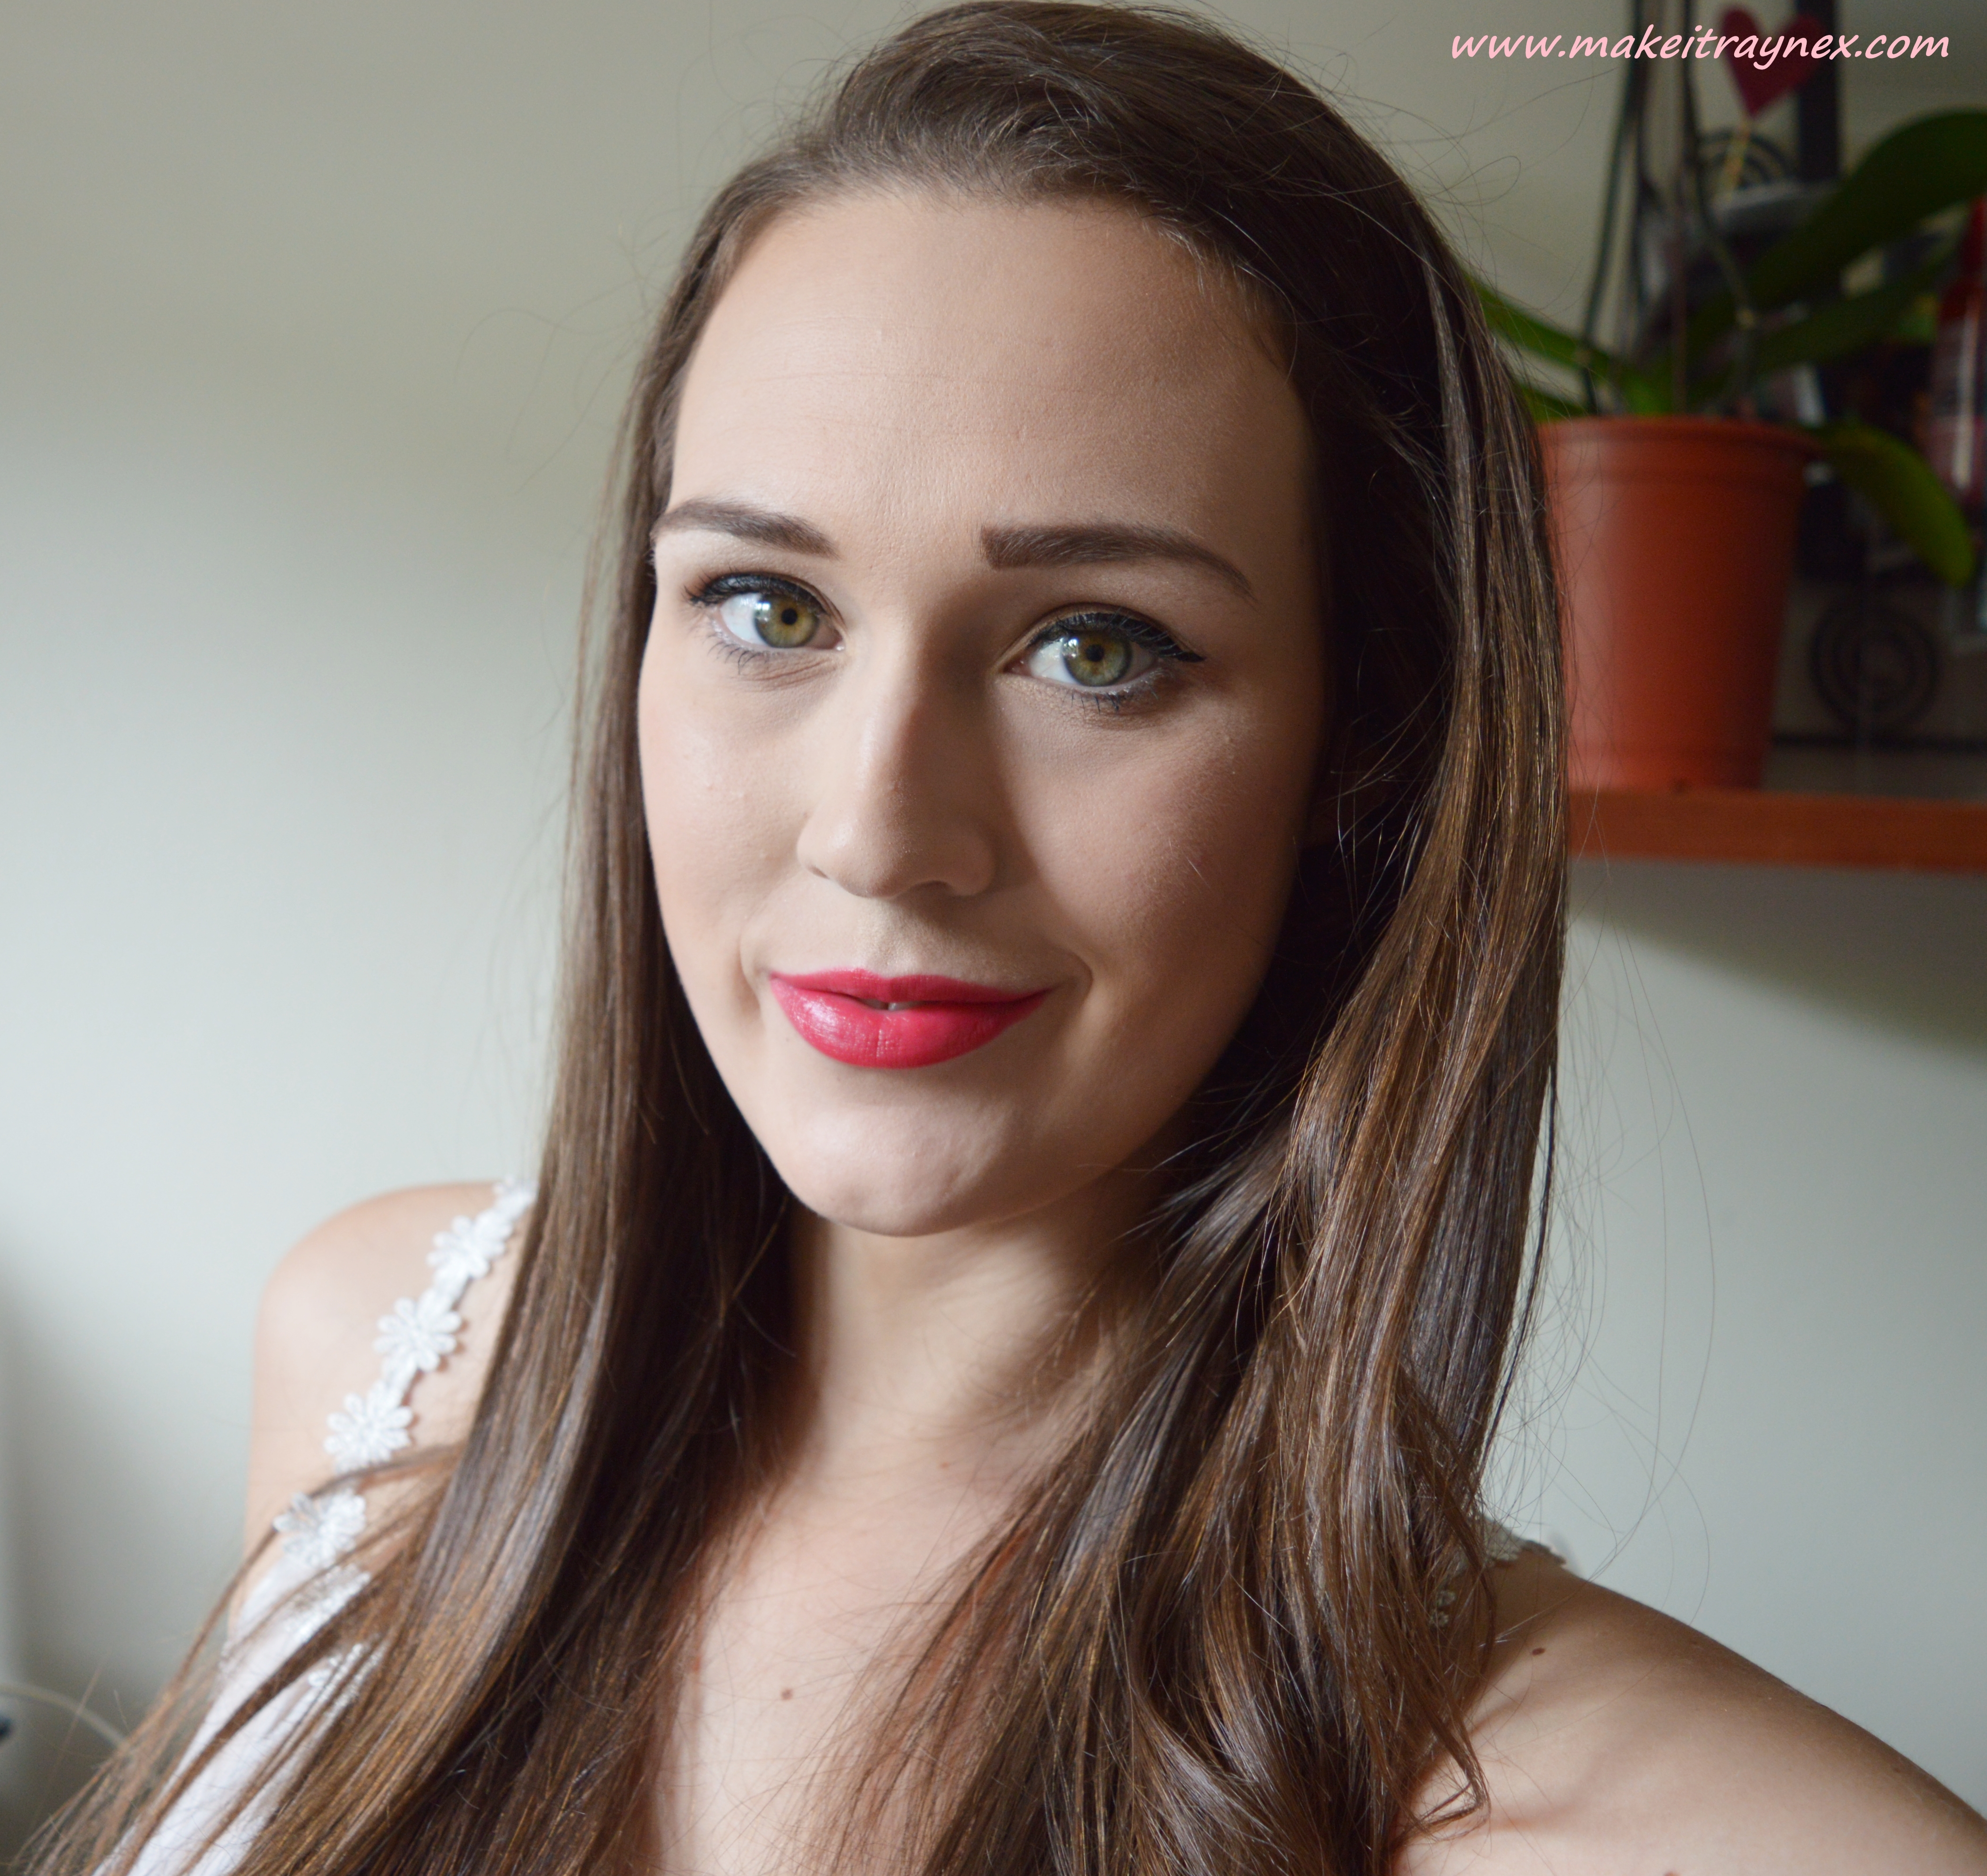
Anyone who has read my blog will know that I am a huuuuge GOSH fan and I frequently feature the brand in my posts and my monthly favourites. This post will show you step-by-step which products I have used to achieve this dewy and fresh faced look – with a pop of colour! And remember to click on the bold text to check my thoughts and reviews on specific products.
STEP 1: After your skincare routine apply a thin layer of the GOSH Anti-Wrinkle Primer to make sure your foundation doesn’t sink into all your creases. Then wait a few minutes before applying your foundation. I went for the GOSH Natural Touch Foundation which has VERY sadly been discontinued but the GOSH gals assure me that the X-Ceptional Wear Foundation is a good option to go for instead as it gives more coverage than the Natural Touch and it also gives a matte finish to your skin.

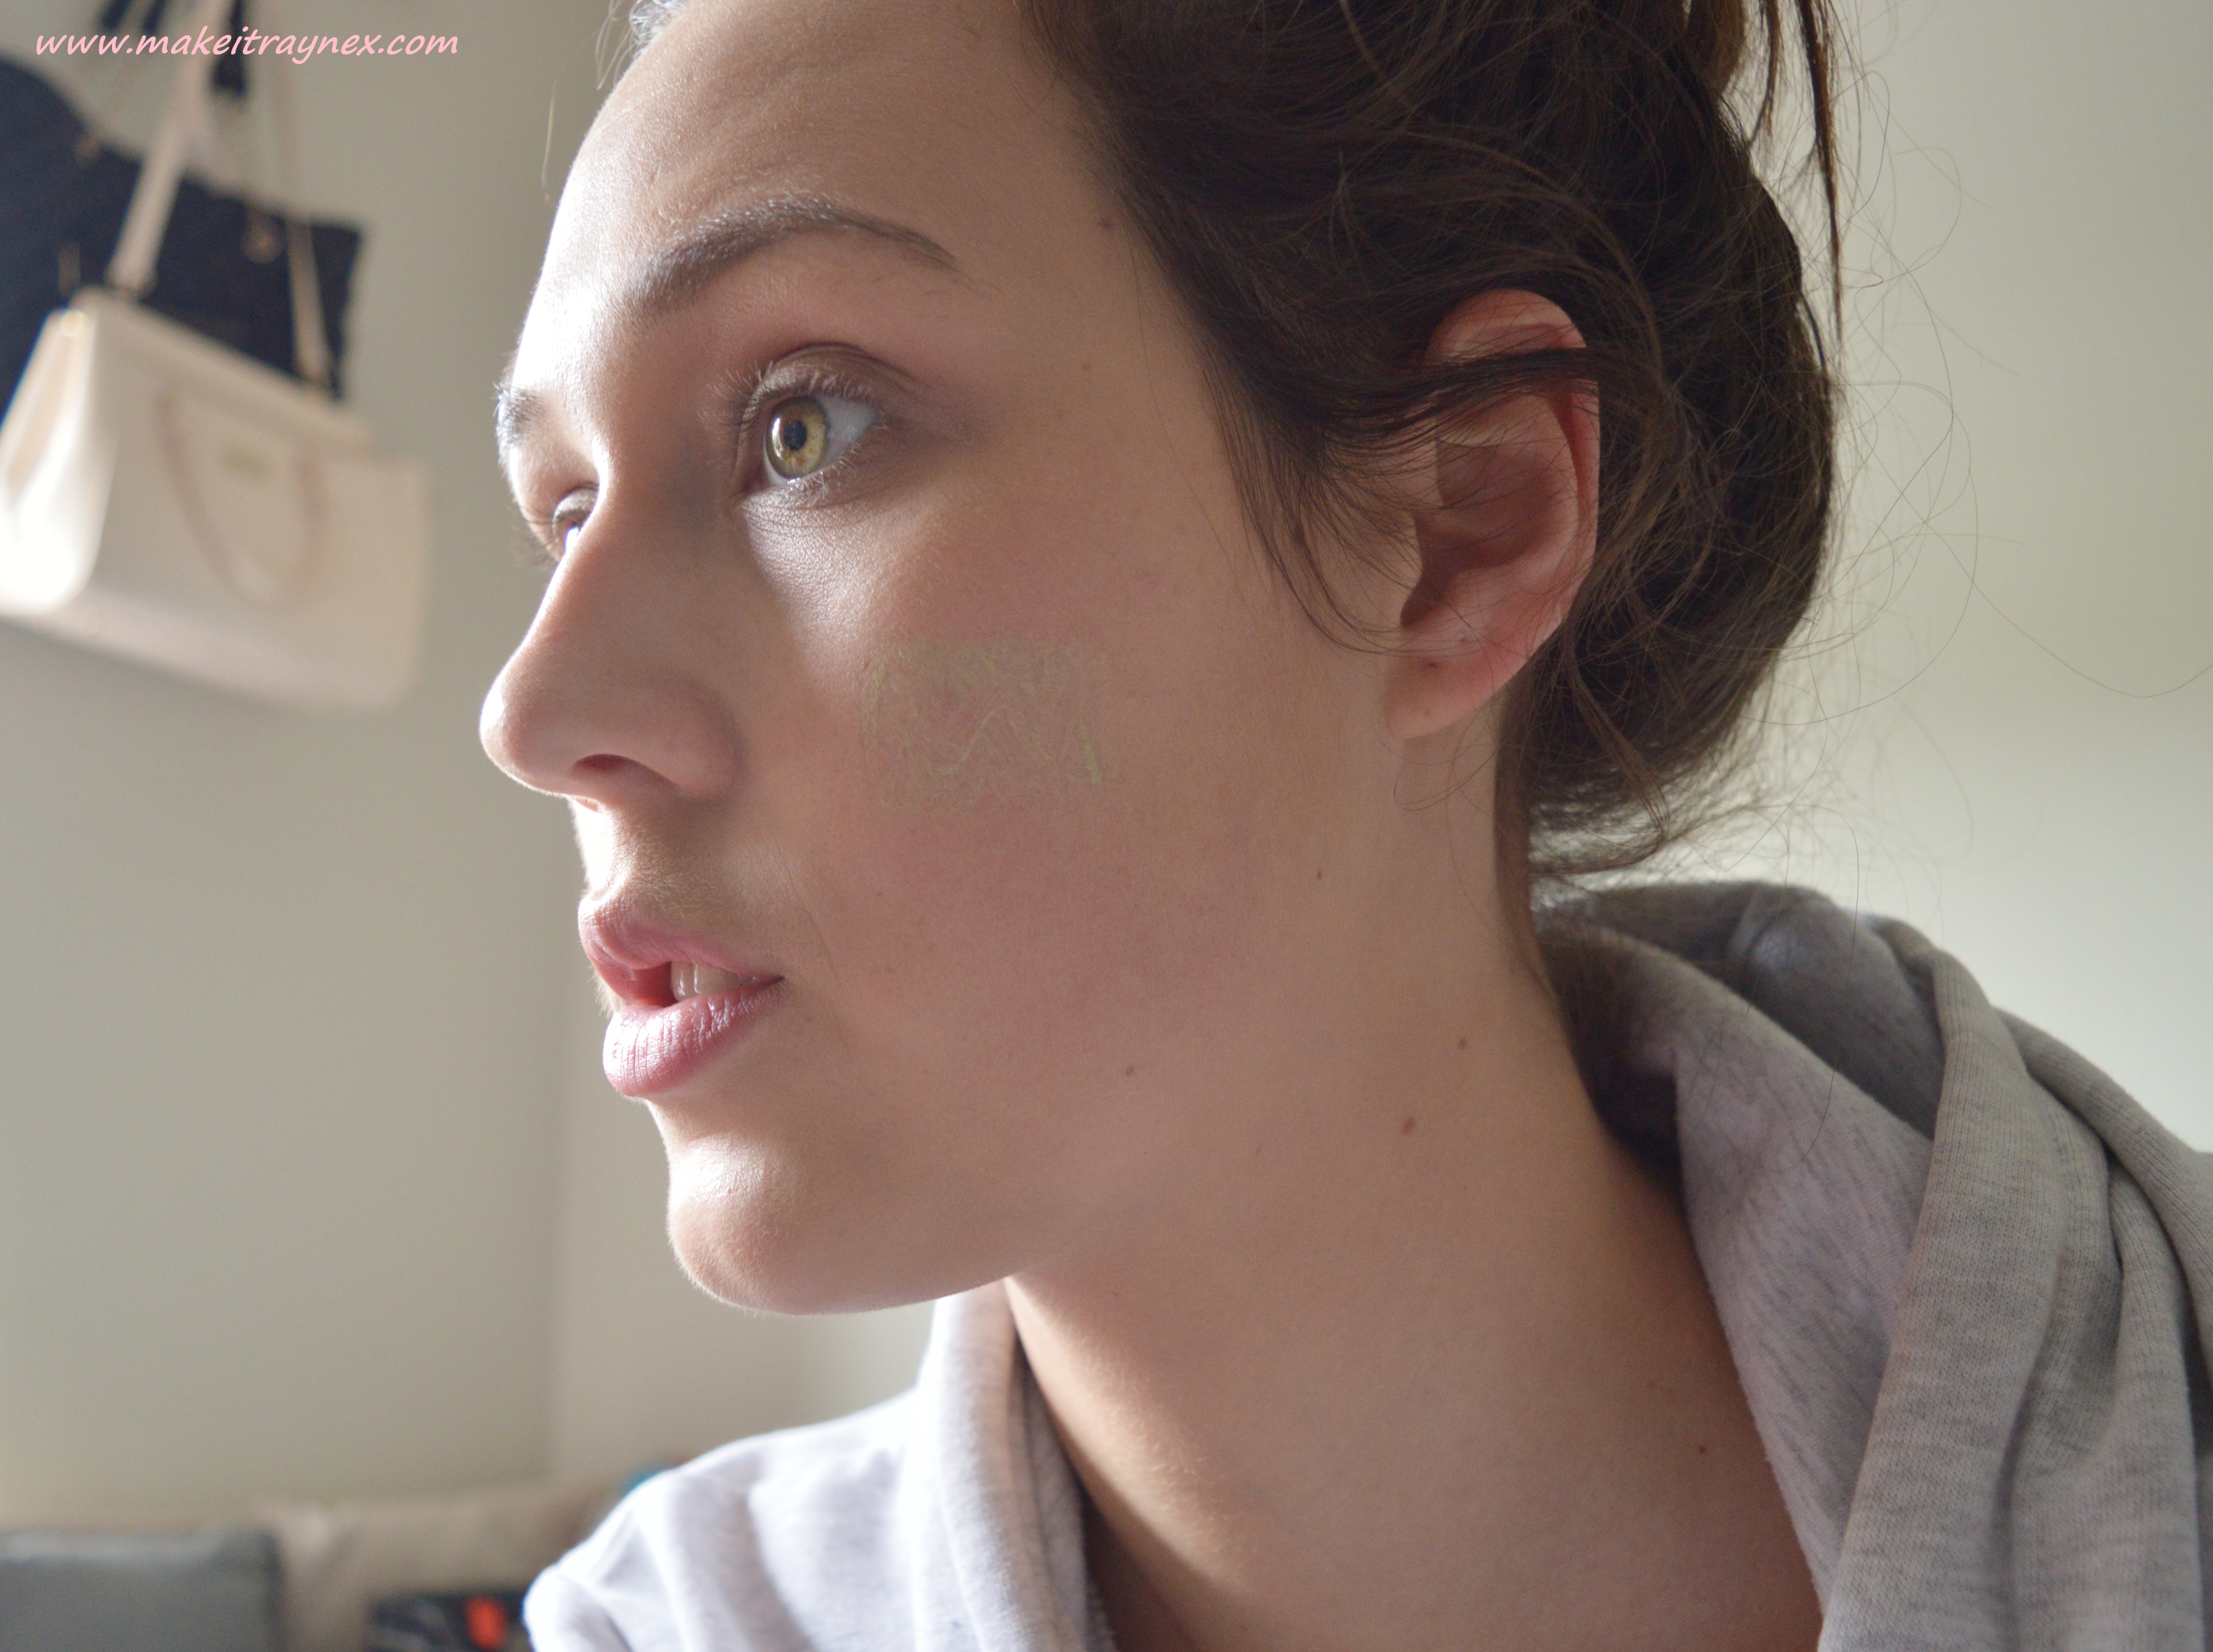
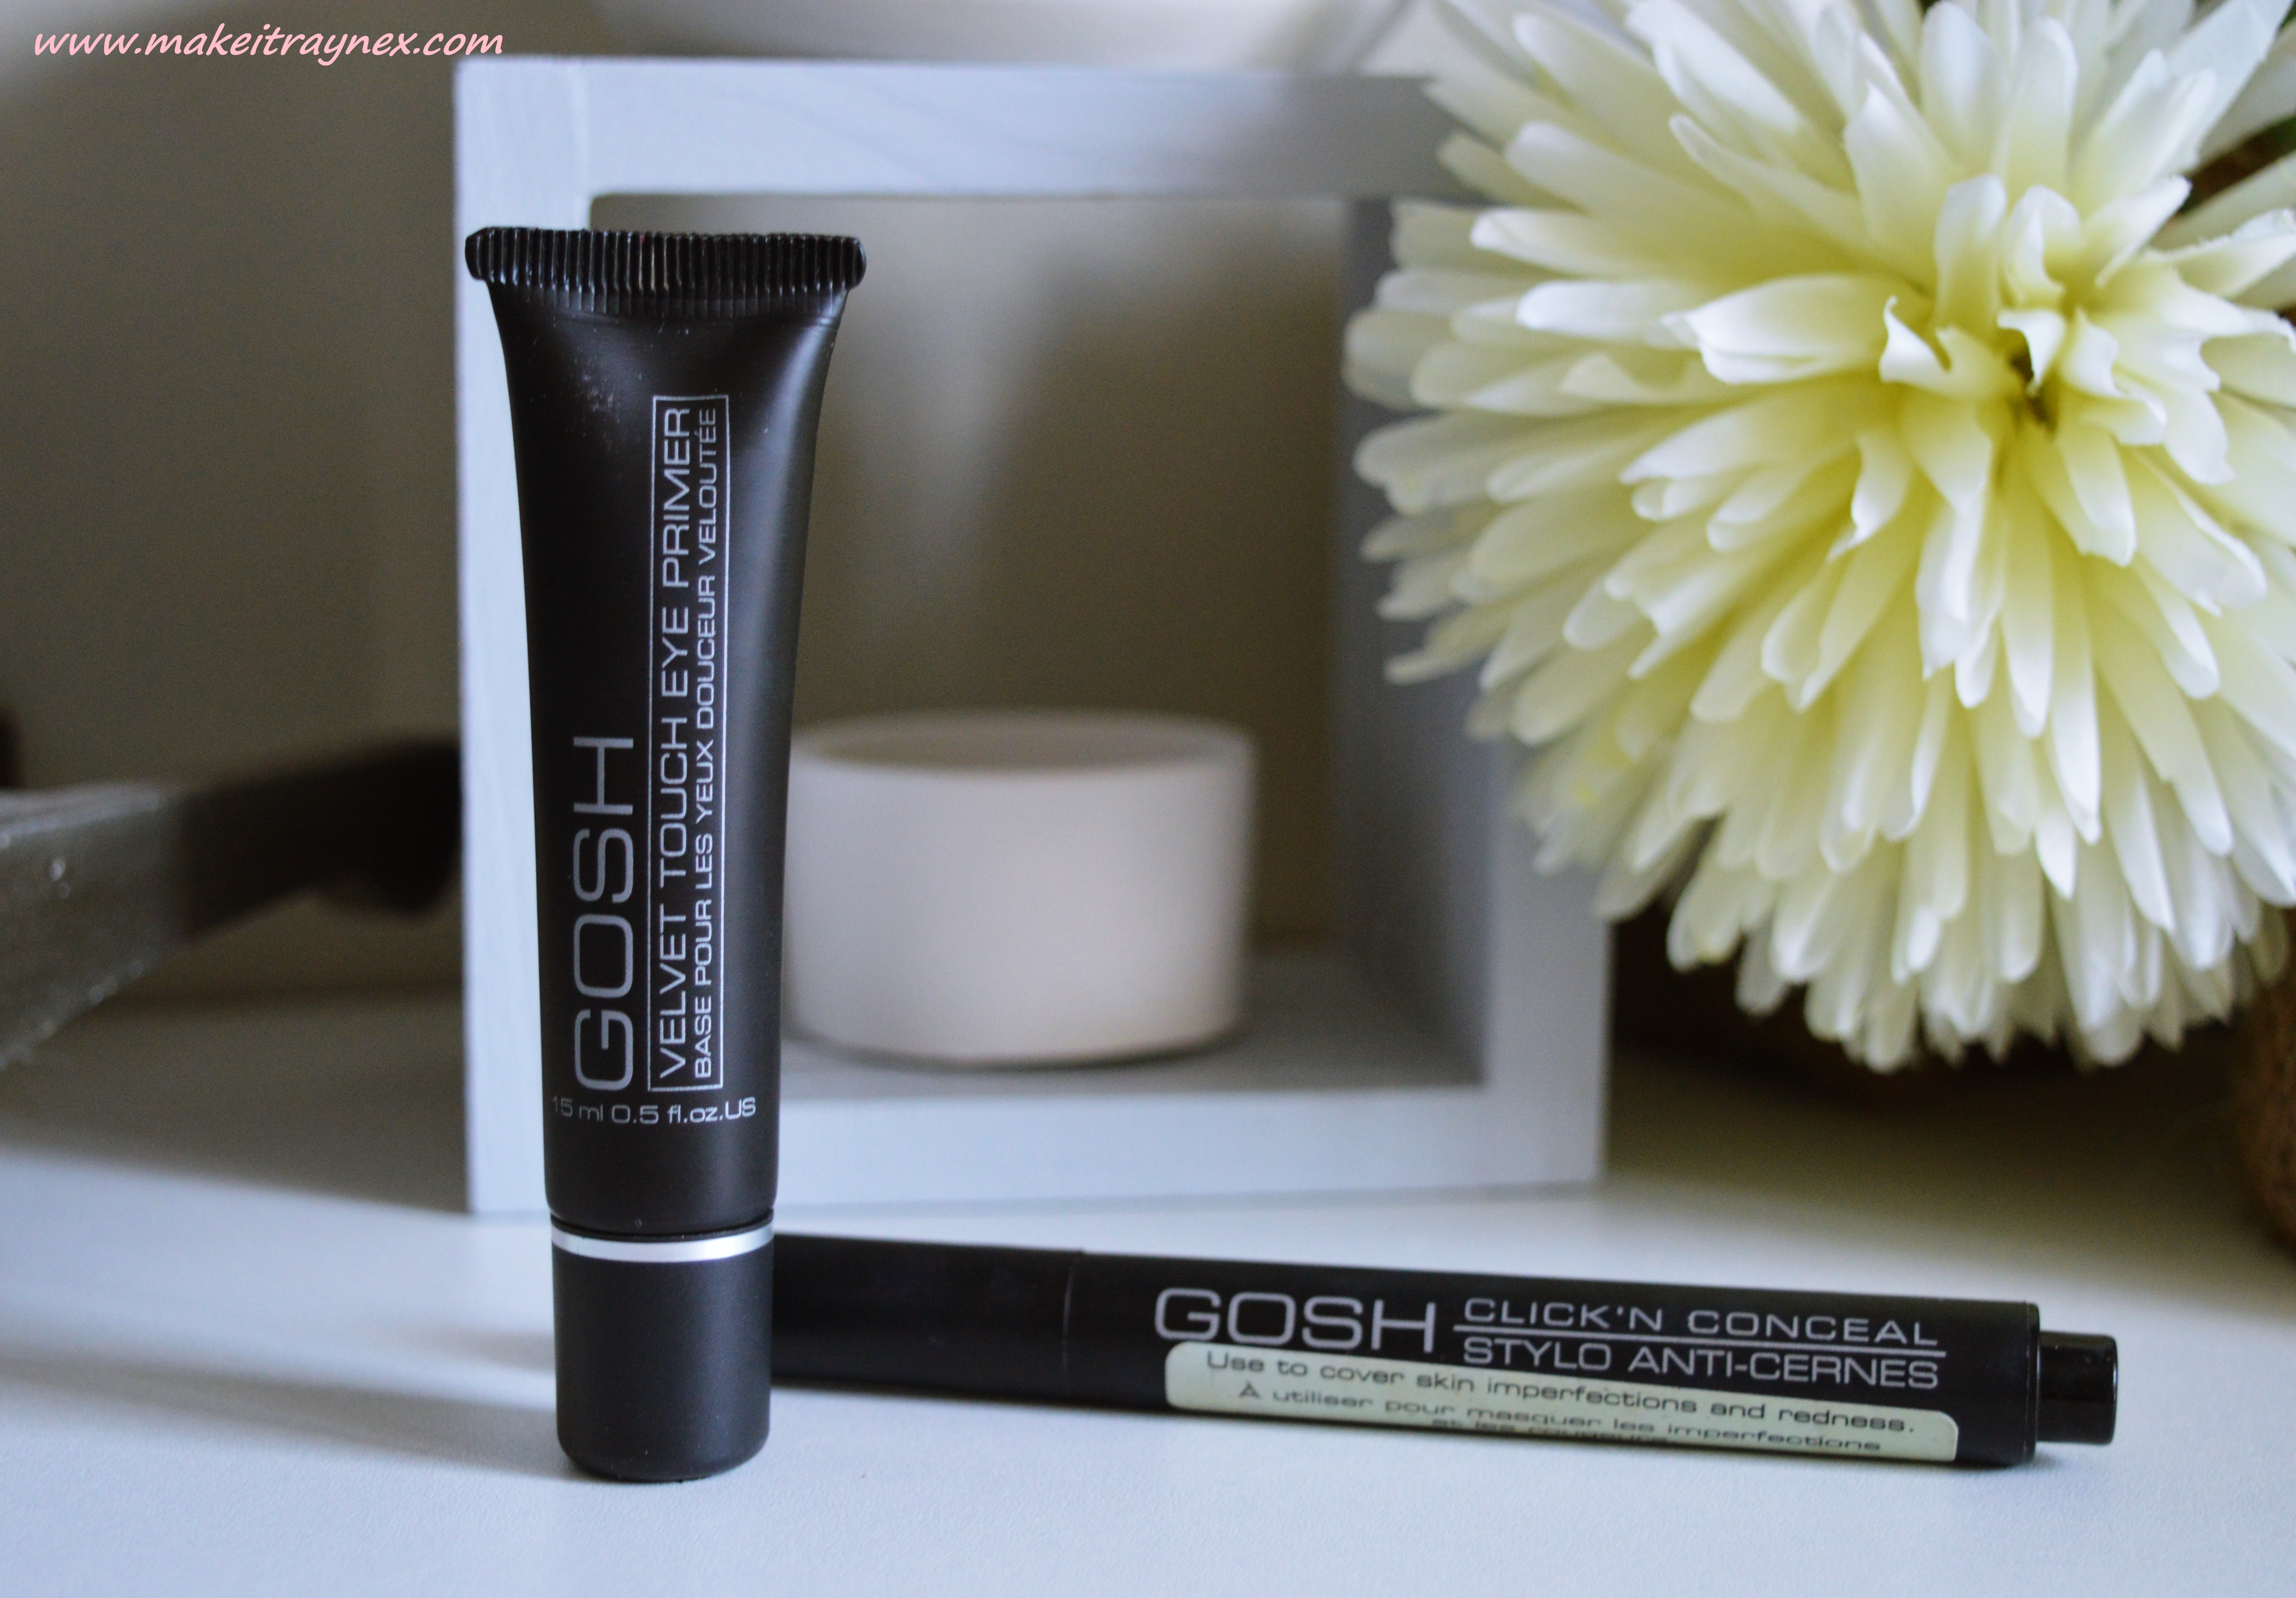
STEP 2: Conceal any skin imperfections with the Click ‘N Conceal pens. This product is available in Light/Medium/Dark/Anti-Redness. I especially love the Anti-Redness – which is a green formula – to use around my nose area and to cover up red spots on my face. The formula smells a bit like plastic, but do not fear, it works like a bomb!
STEP 3: Apply your eye primer which will help set your eyeshadow later. What I love most about the GOSH Velvet Touch Eye Primer is that it differs from other brands in the way that it is not specifically for your eye lids. It can be used to help fill in crows feet (one of my main concerns!) and laugh lines.
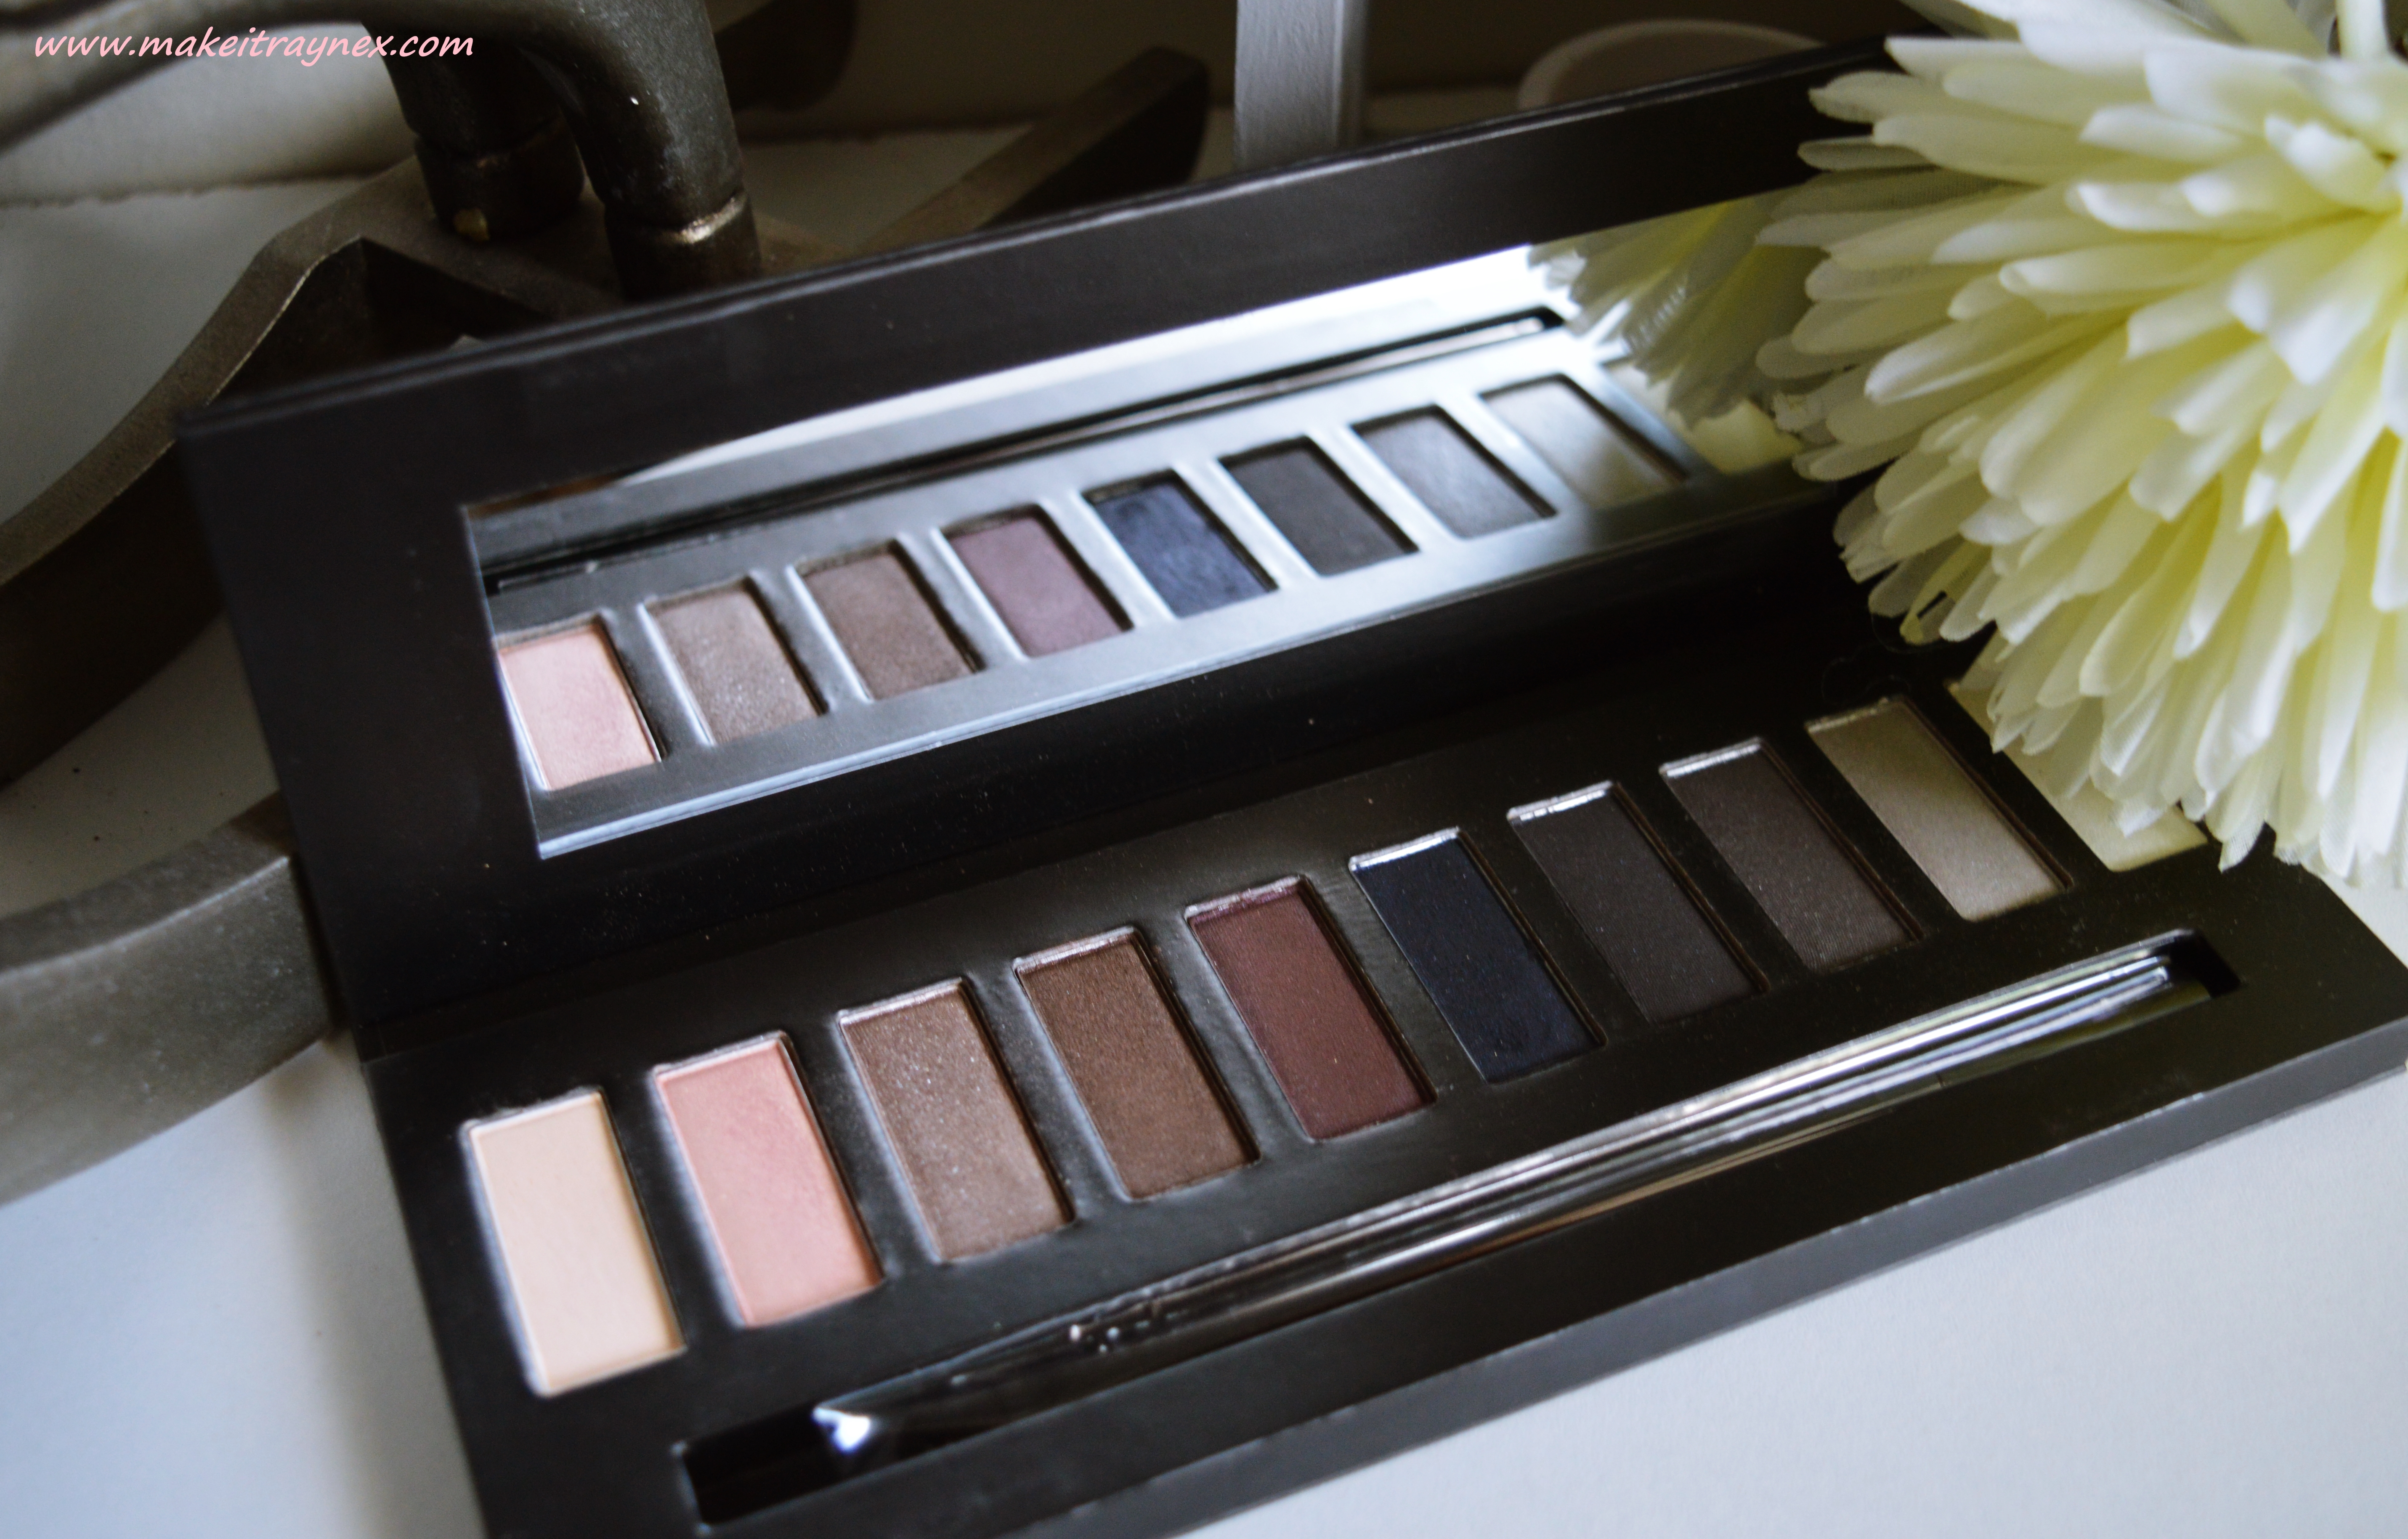
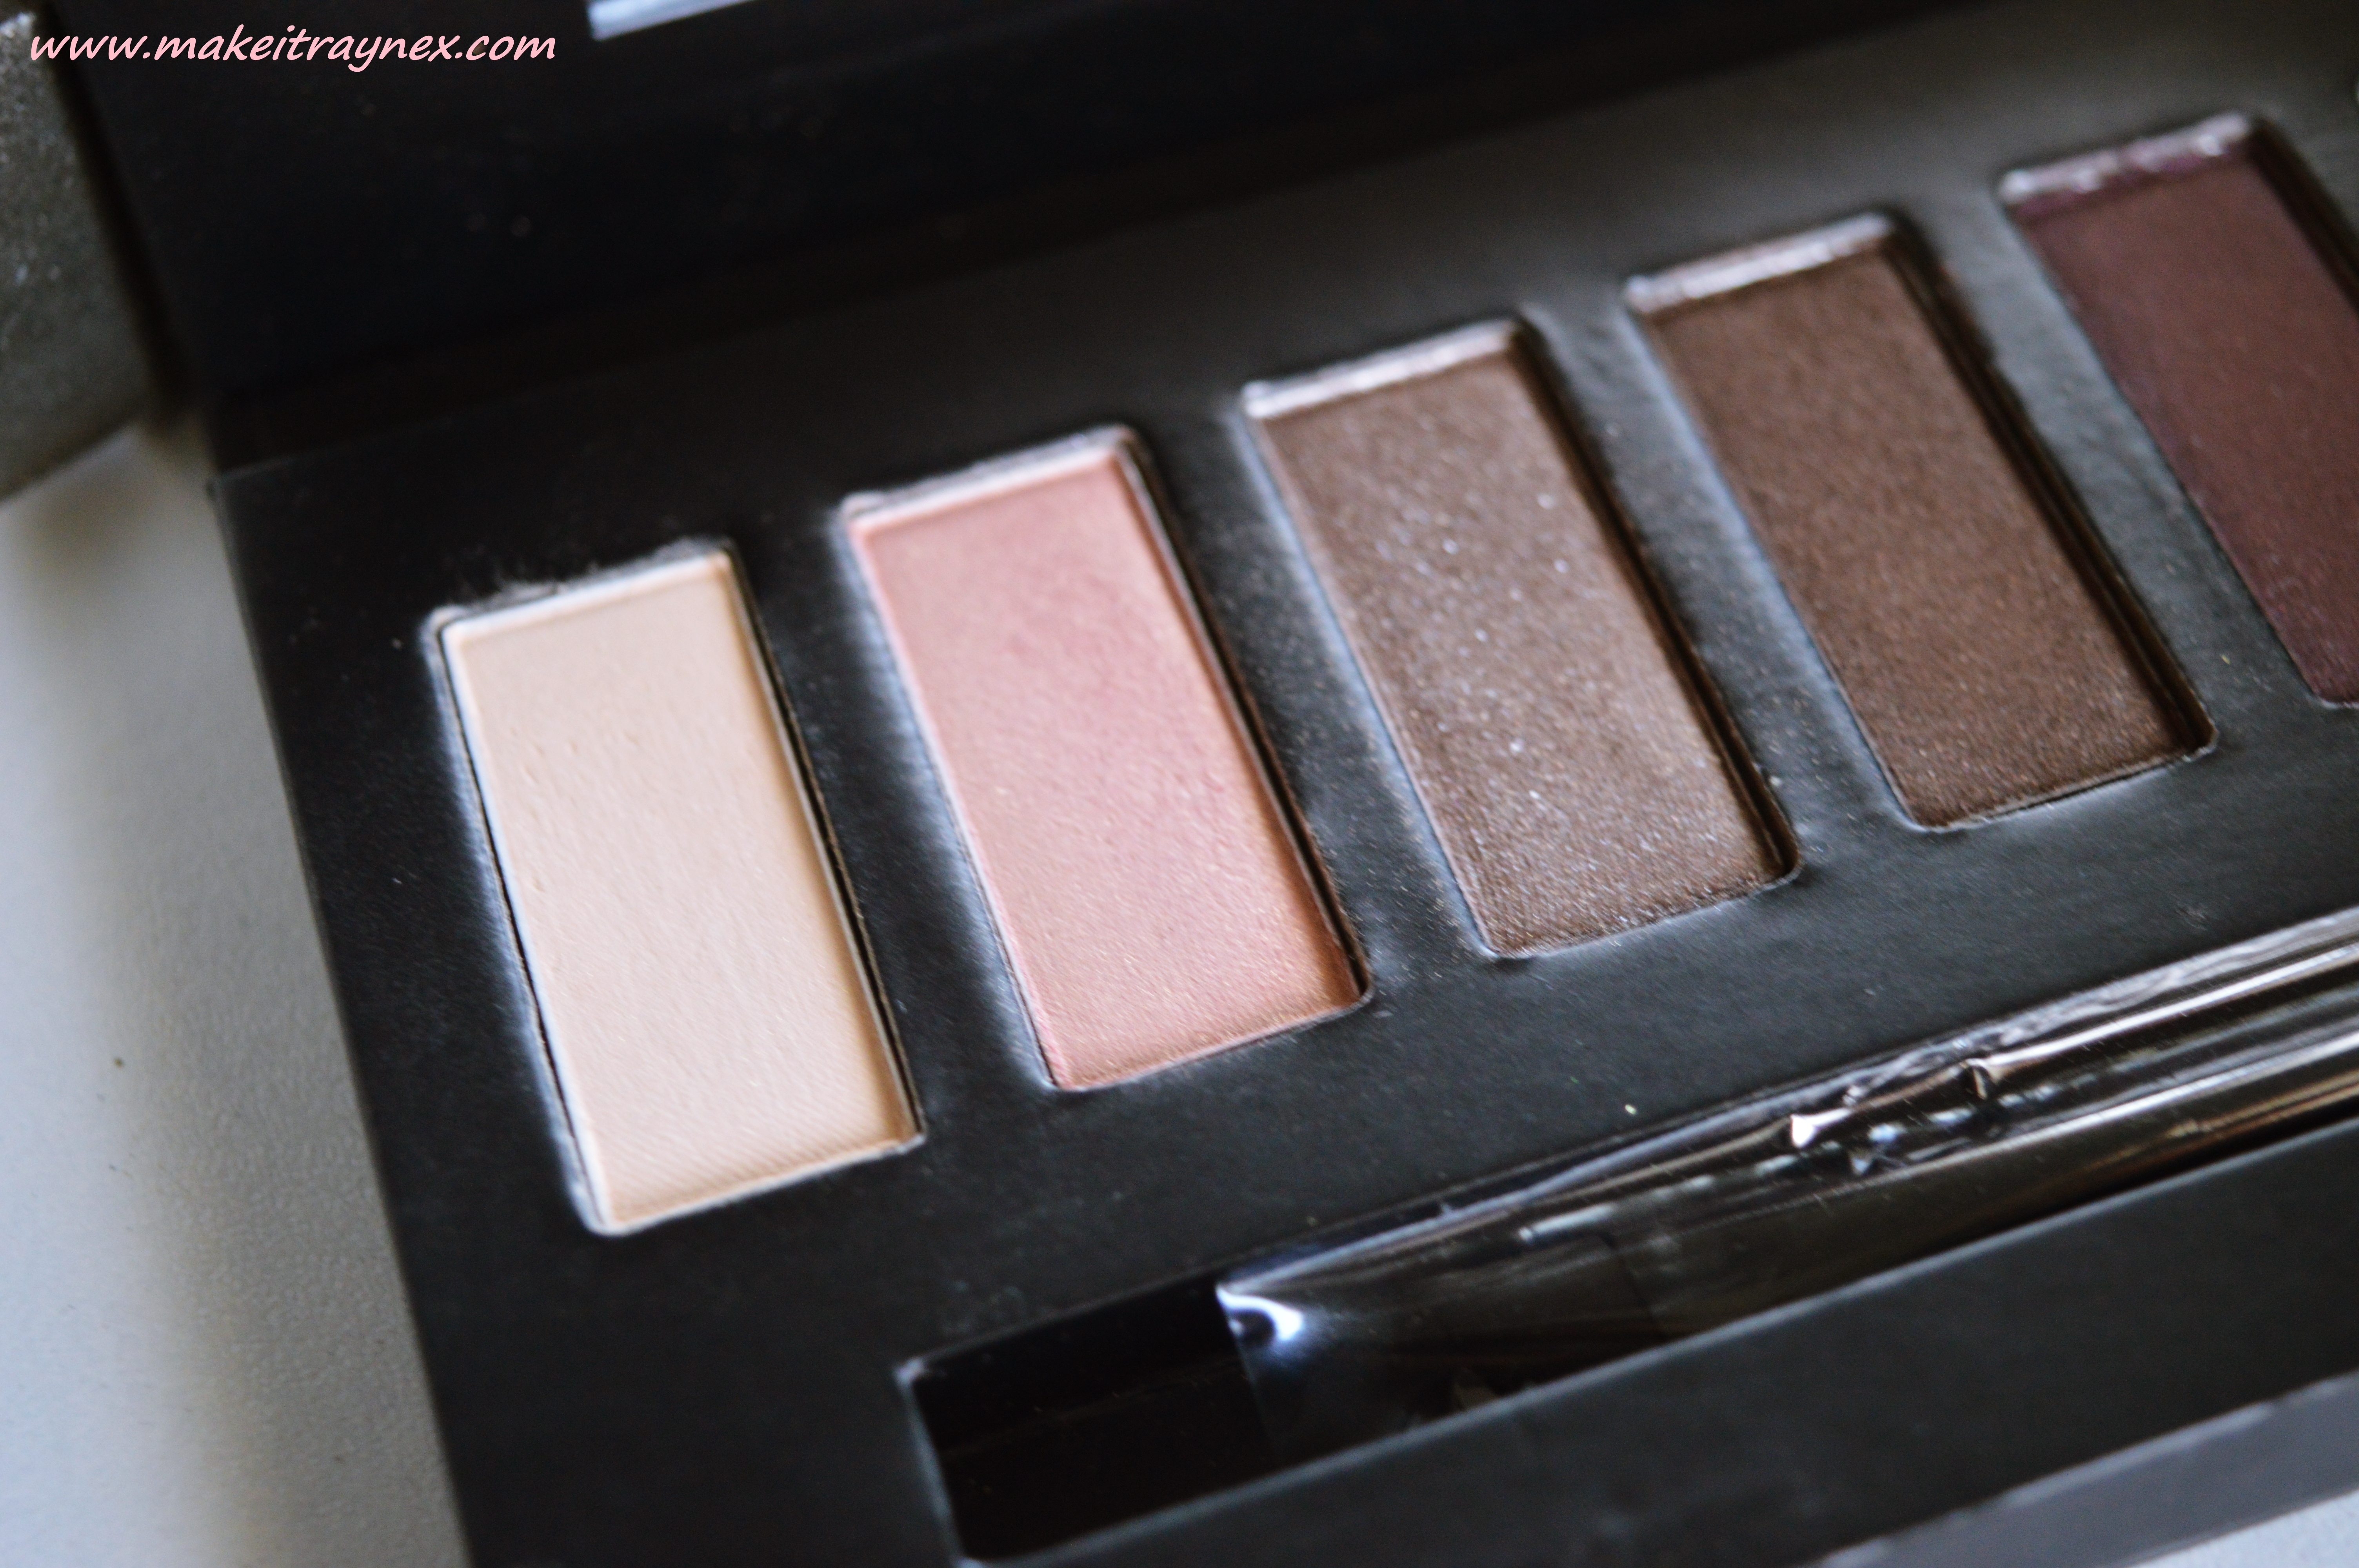
STEP 4: Create a smokey-eye using the first three colours from the Smokey Nudes eyeshadow palette. The palette pods don’t have names but I used it in this order; apply the palest colour all over your lid then fill in the outer-V of your eyes with the second colour (pearly peach), then apply a smidgen of the third colour (subtle light chocolate) into your crease and smoke out with a fluffy blending brush. This will create a very light and fresh eyeshadow look. Then add some of the lightest colour to your browbone to highlight.
The fourth and fifth colours also work really well as eyebrow shadows.
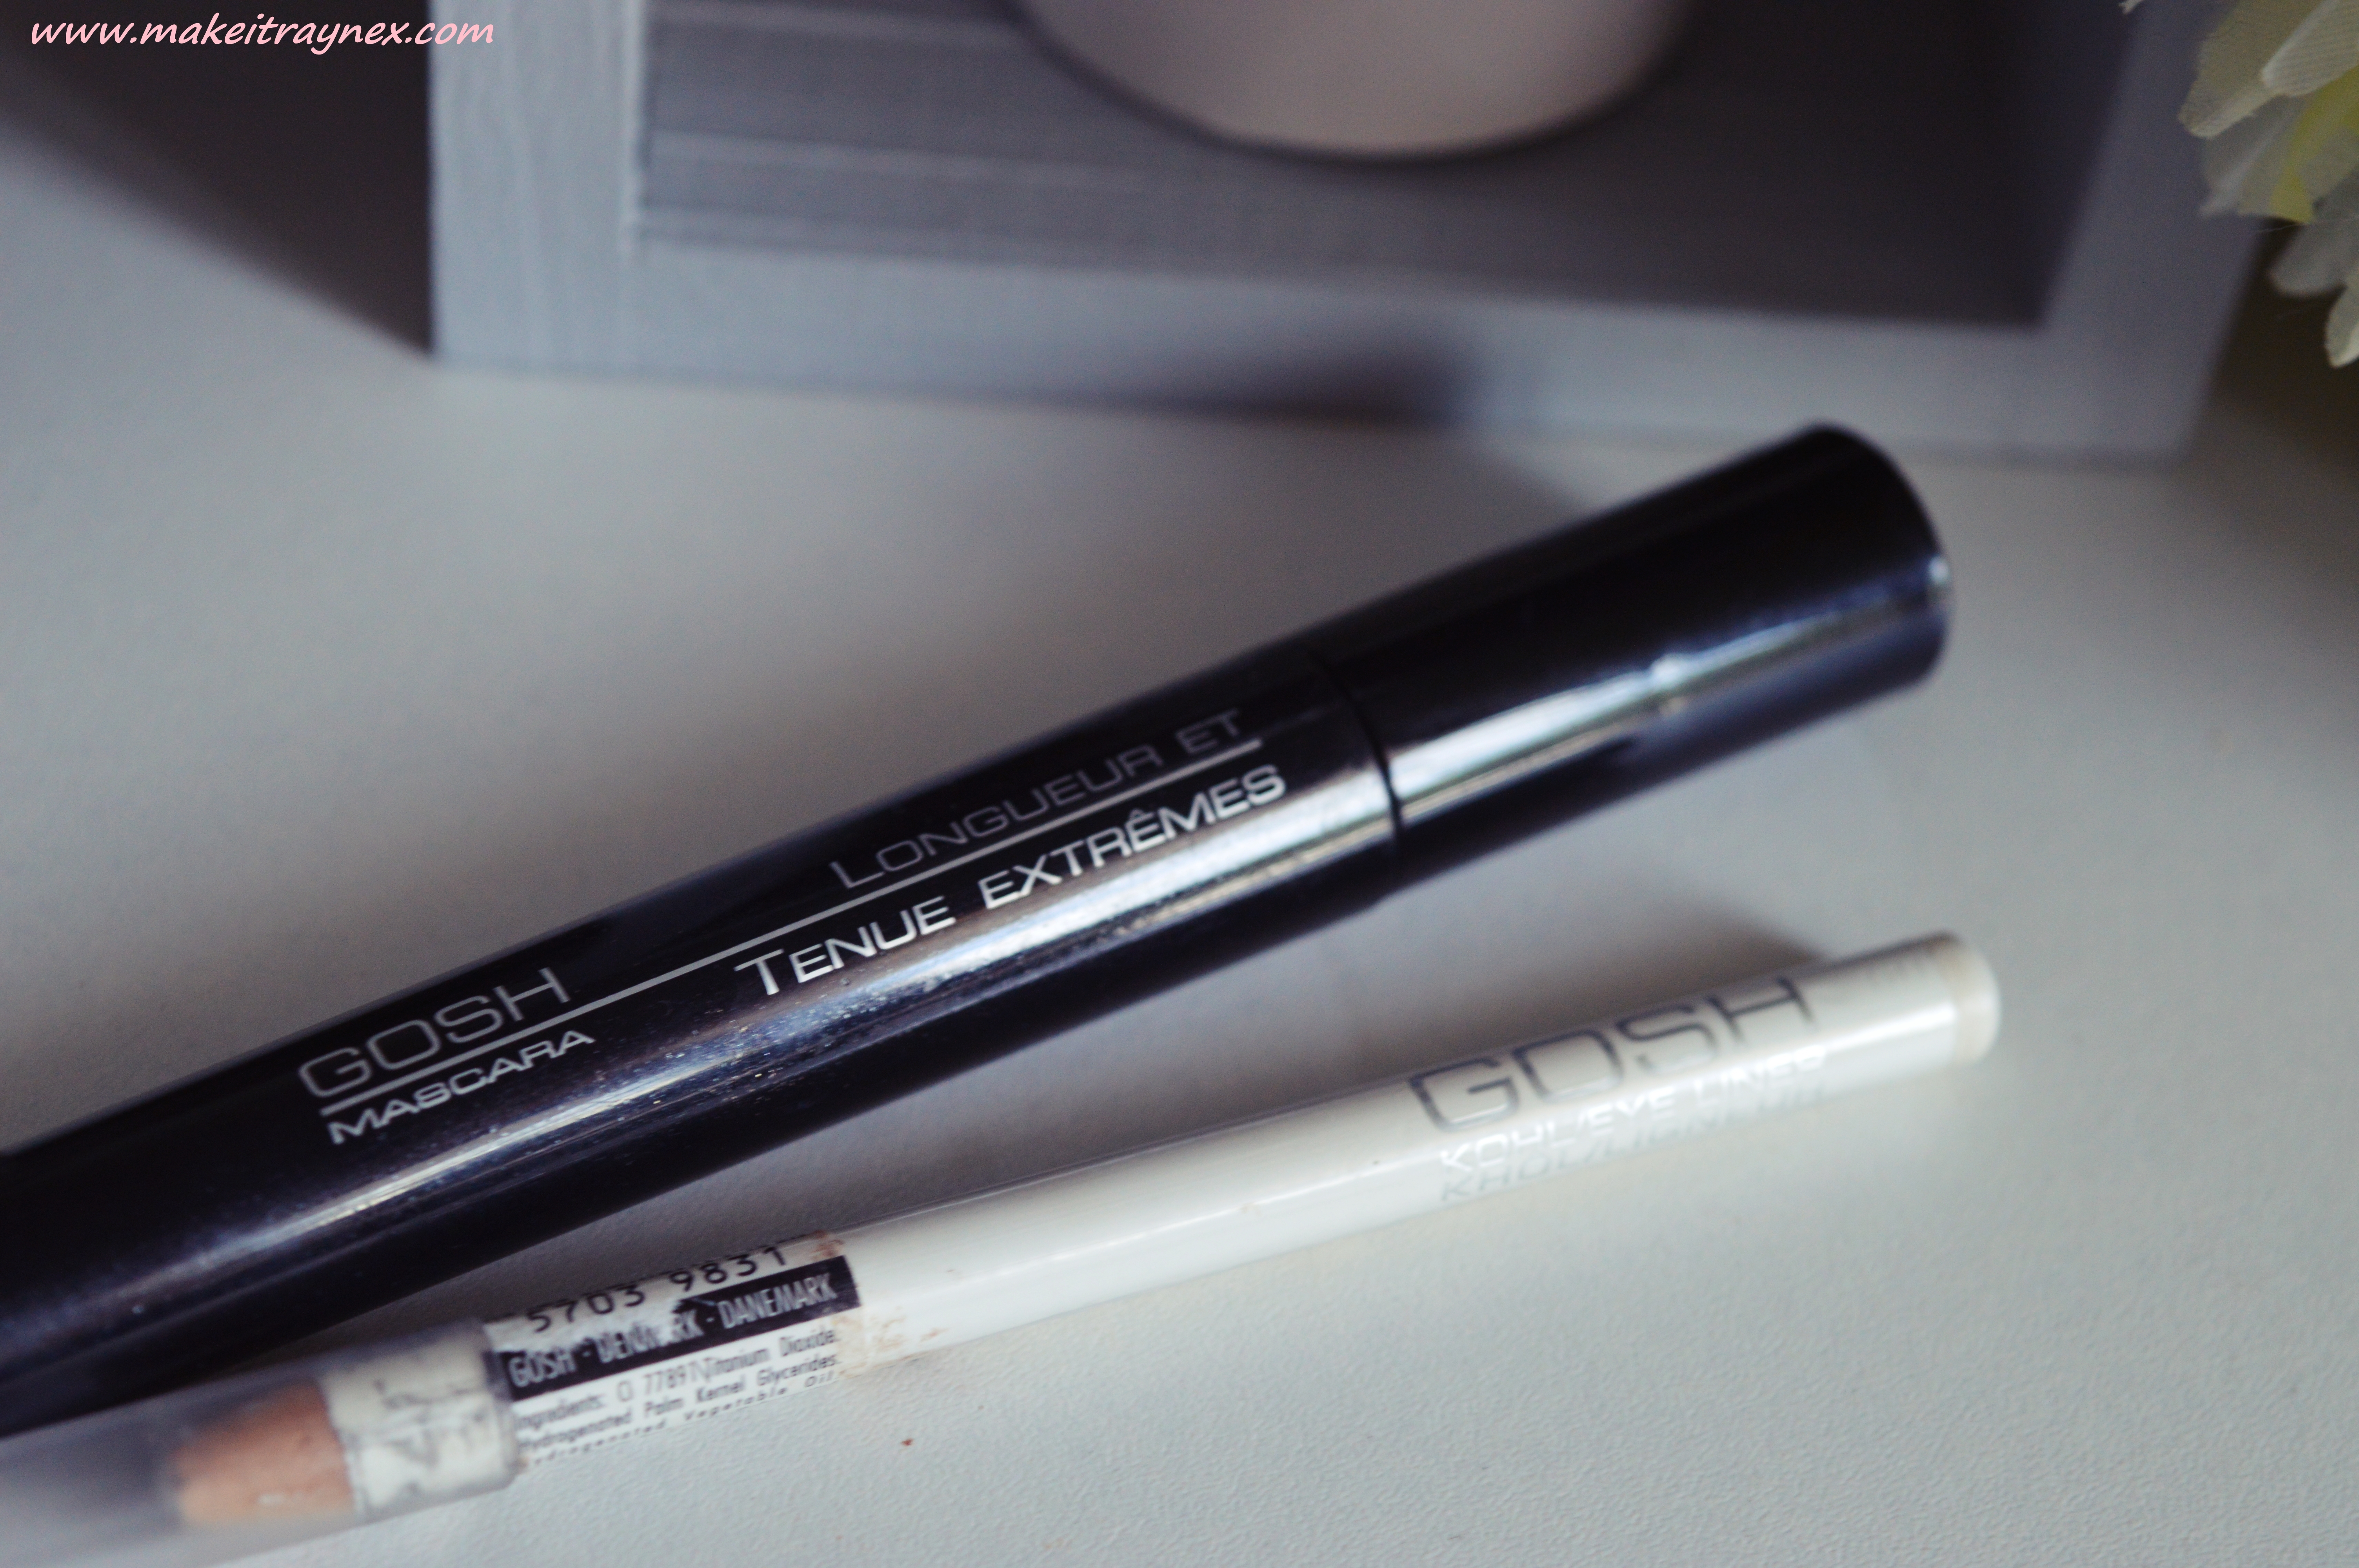
STEP 5: Apply white eyeliner to your bottom waterline. The GOSH Kohl Liner is quite a soft pencil which sharpens easily and doesn’t feel painful on your eyes. The white liner opens up your eye, making it look larger and it just gives off a softer look overall.
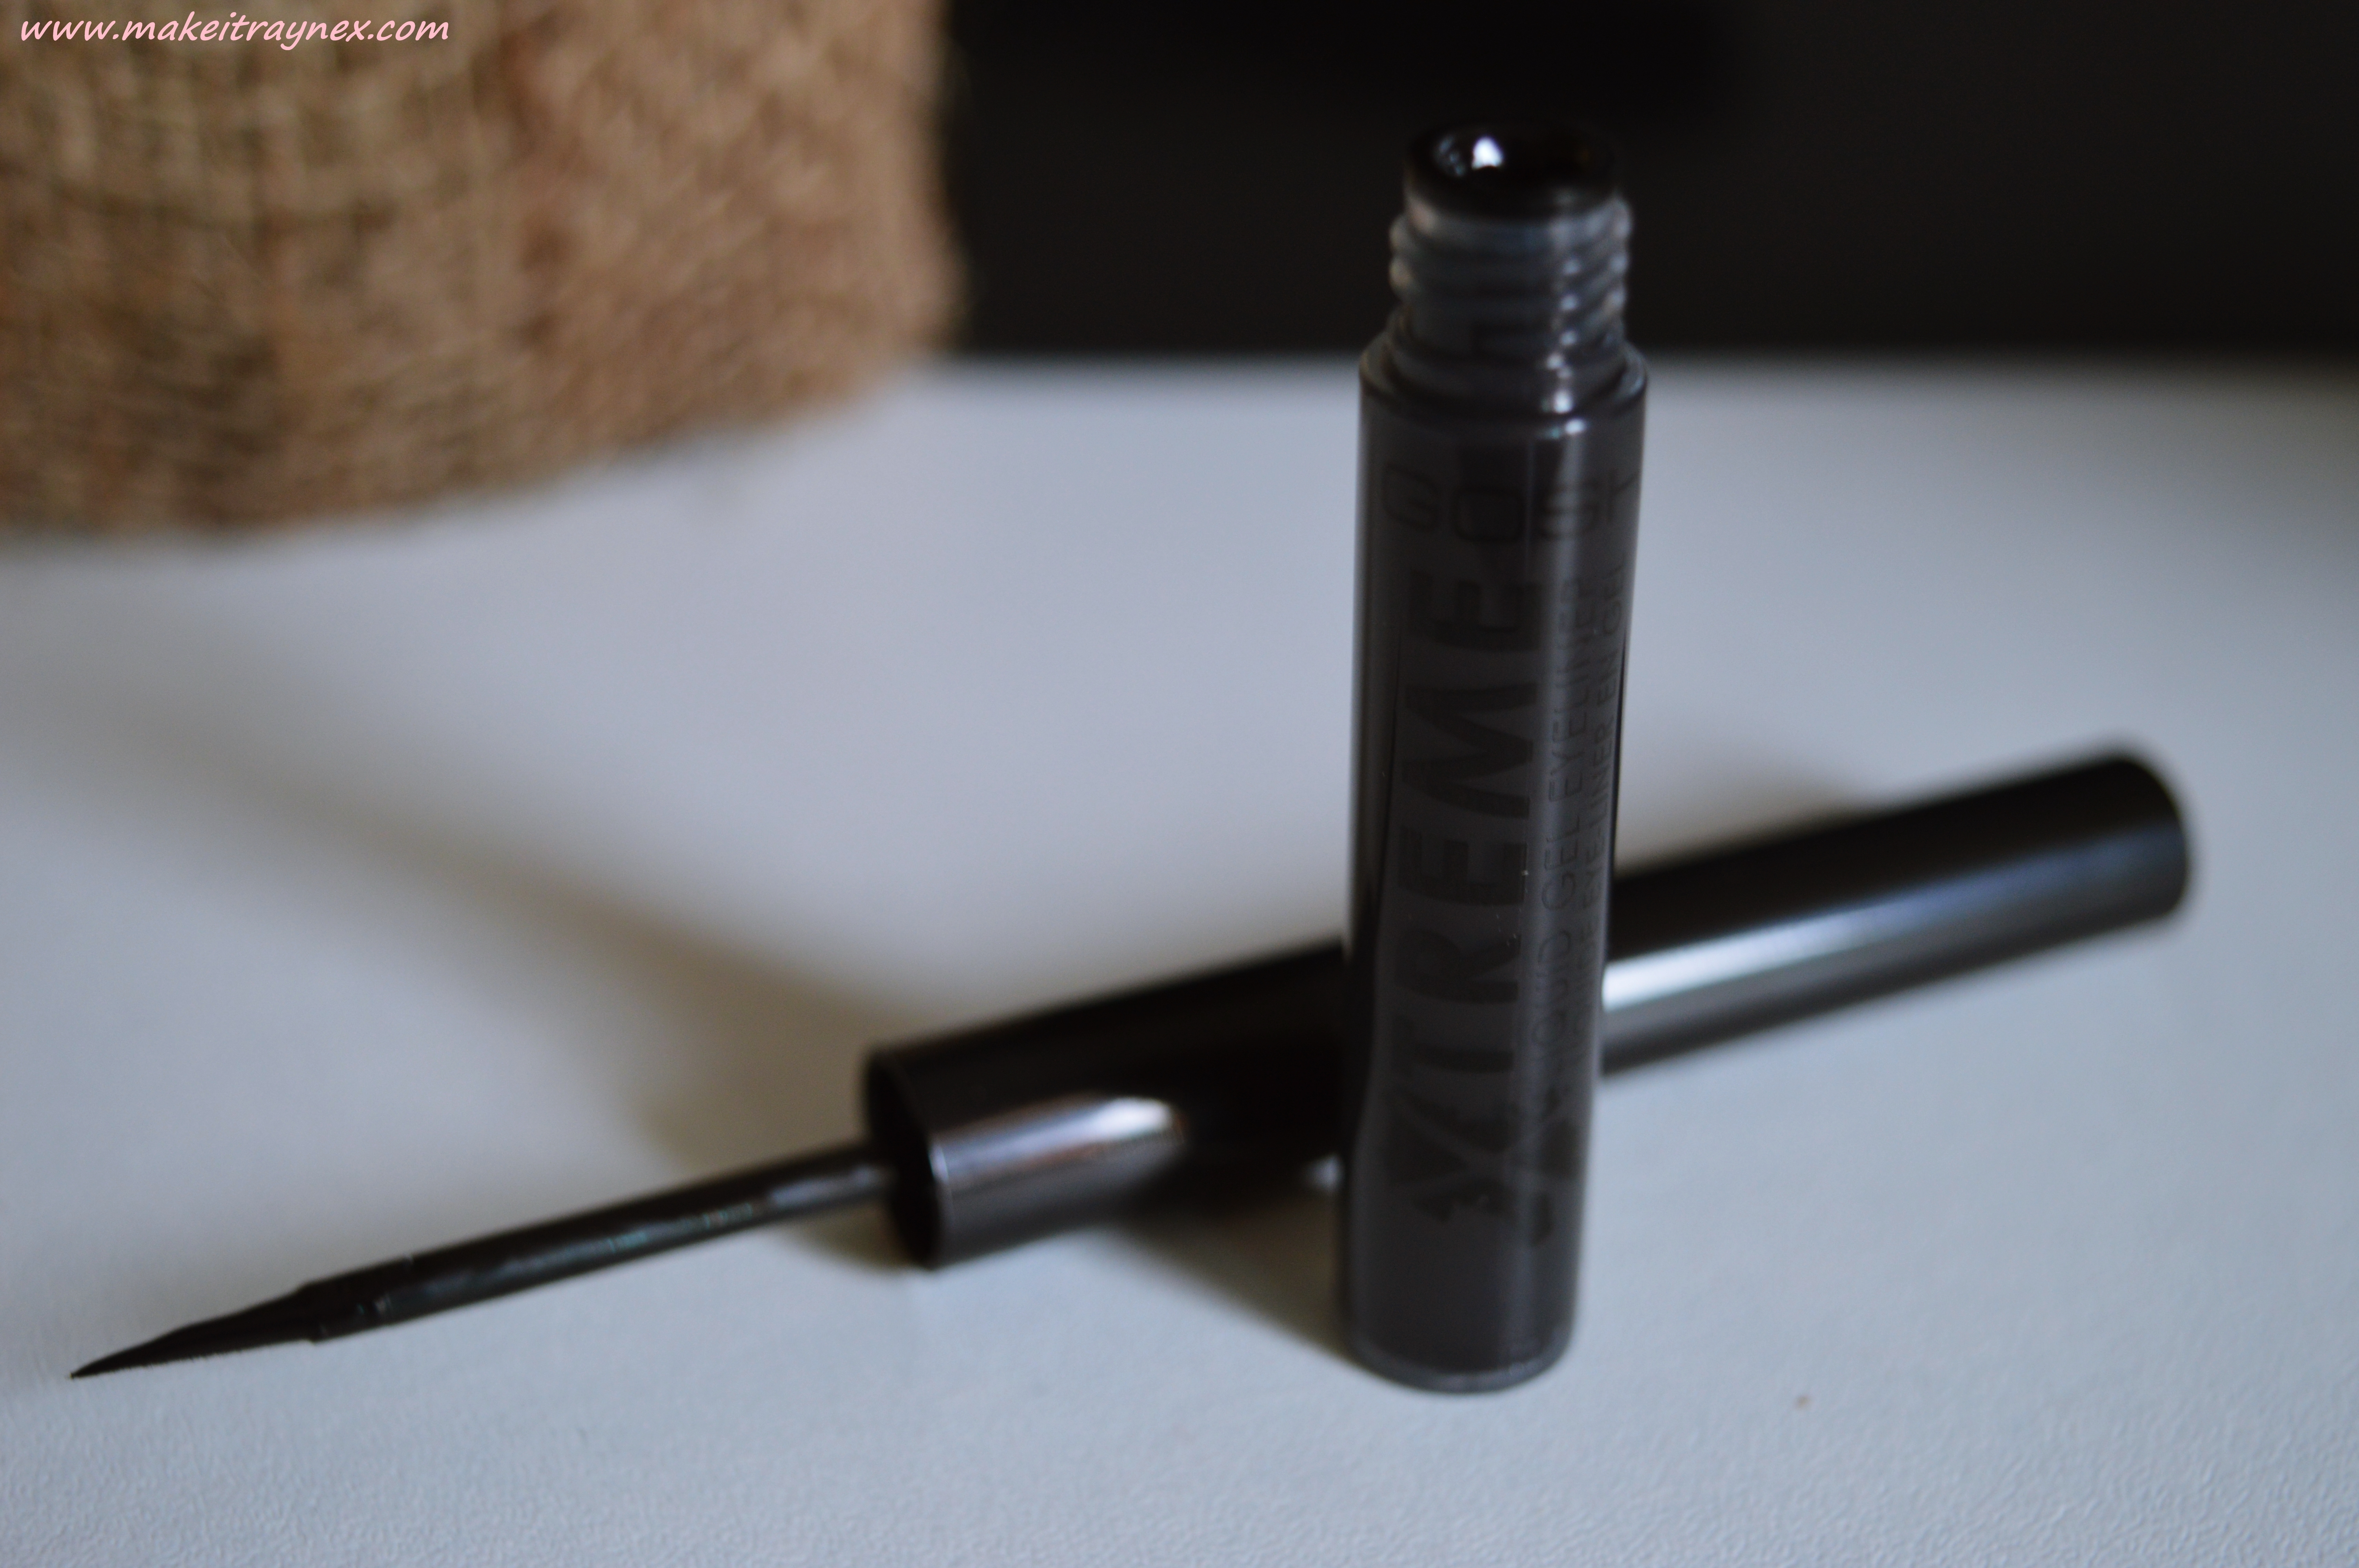
STEP 6: Next up is the X-Treme Liquid Gel Eyeliner. People can be quite daunted when using liquid liner but a little trick is to use sellotape on your eyelid to mark out the wing. This liquid liner’s consistency is very easy to use as its thin and dark, but give it a few extra minutes before applying your mascara as it can be quite watery.
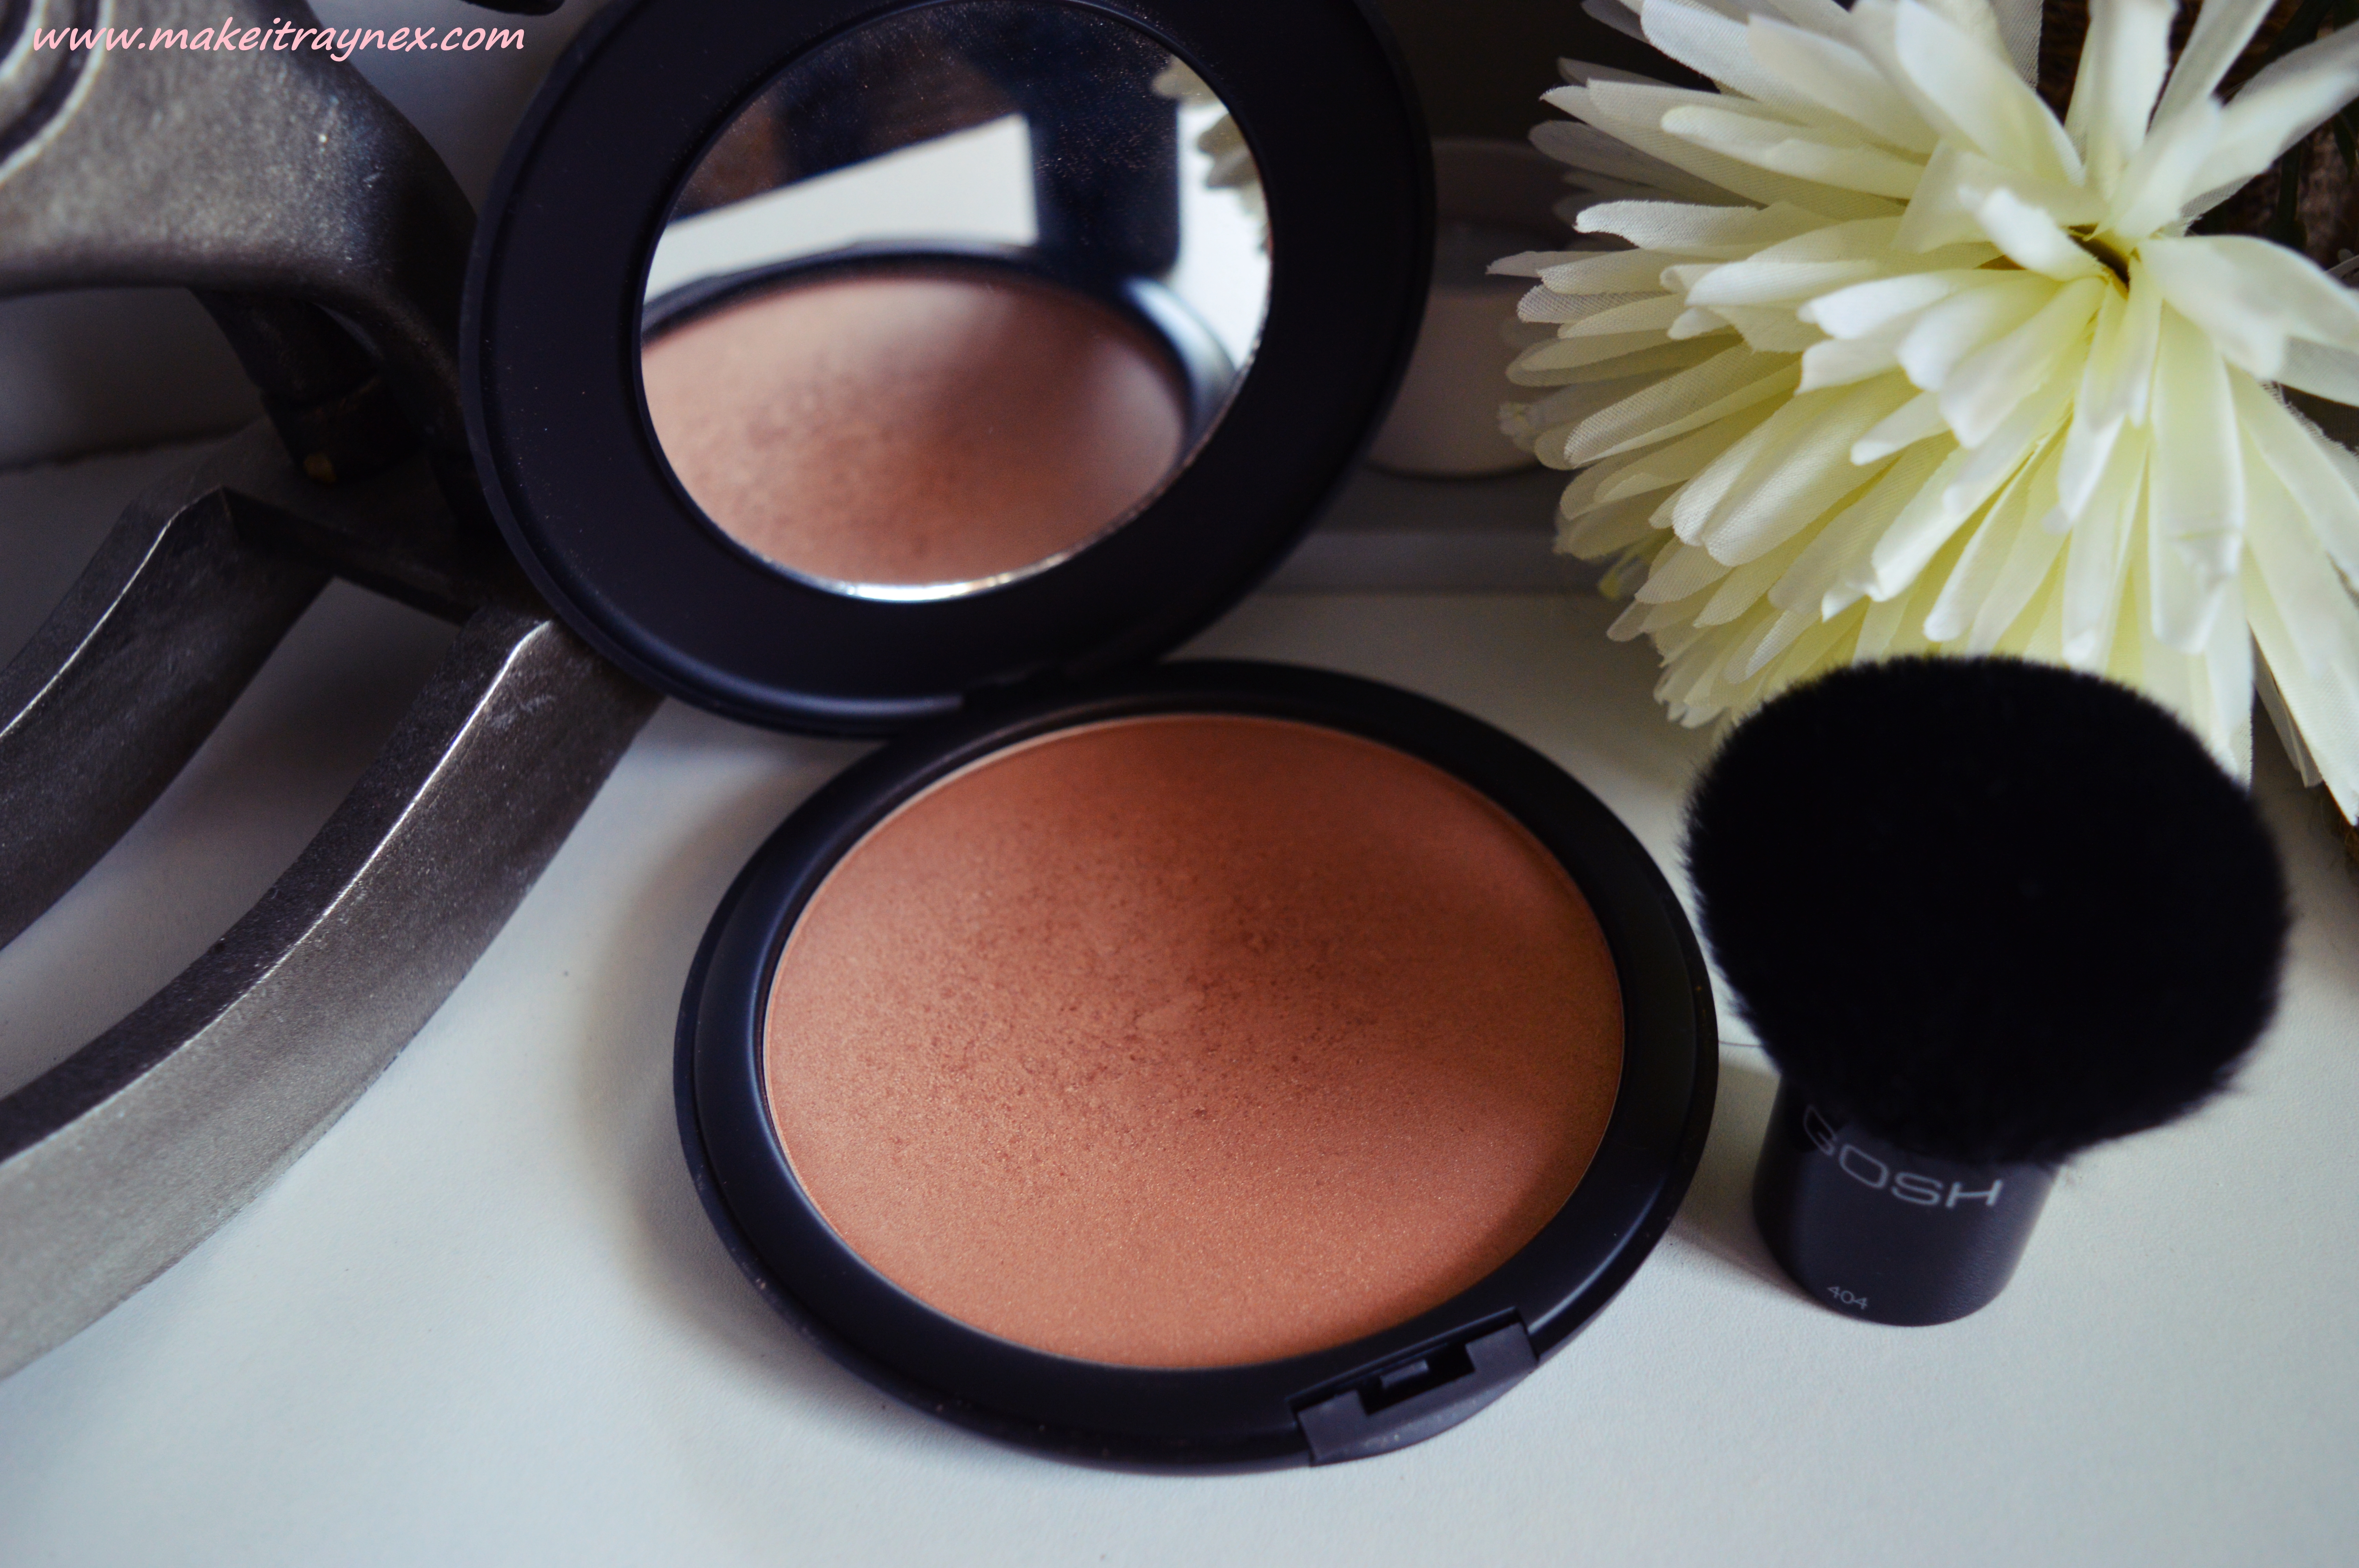
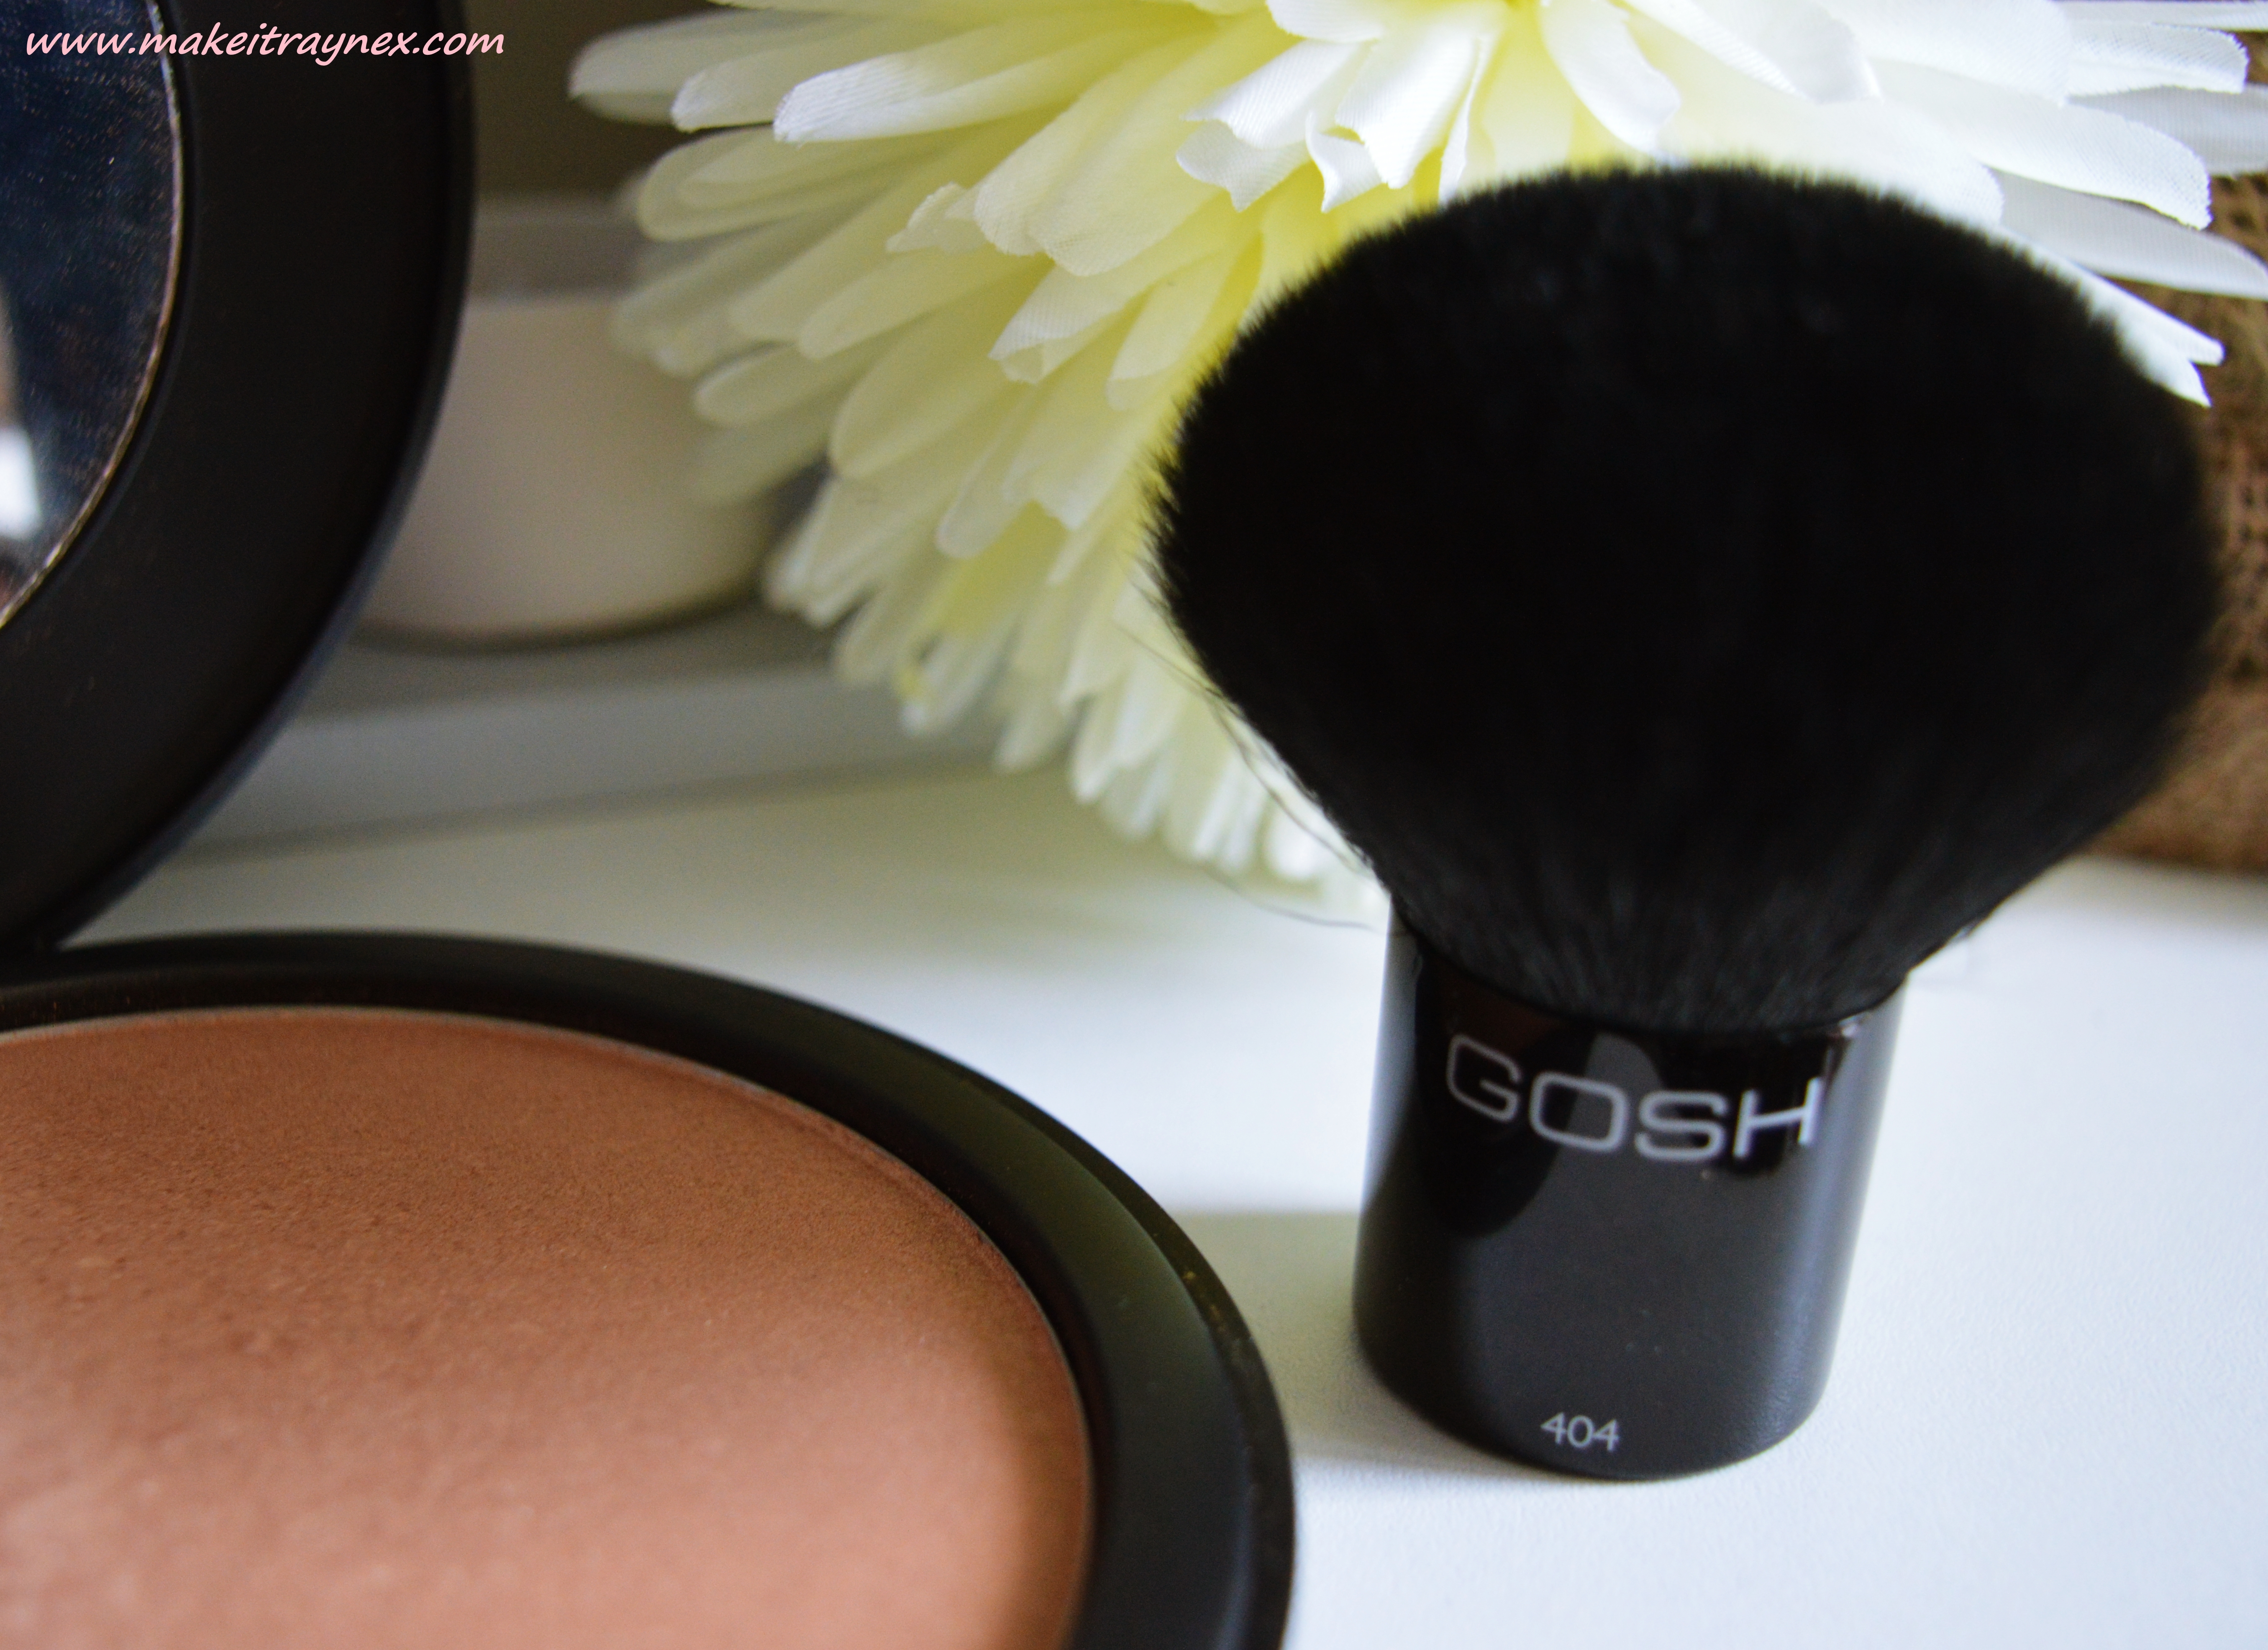
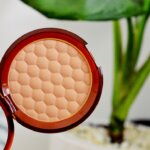
STEP 7: The Giant Sun Powder Bronzer in the shade 001 is perfect as it has just a touch of shimmer to it. I tend to stick to matte bronzers but in Spring time a little bit of shimmer looks perfect. I use this on my cheekbones, forehead and underneath my jawline to sculpt out a more defined and bronze toned look. Also use a thin brush and apply down the side of your nose if you want it to look a bit thinner. I love using the 404 Kabuki brush to apply the bronzer on my face. I also like to add the lightest eyeshadow colour to the top of my cheekbones as a highlighter.
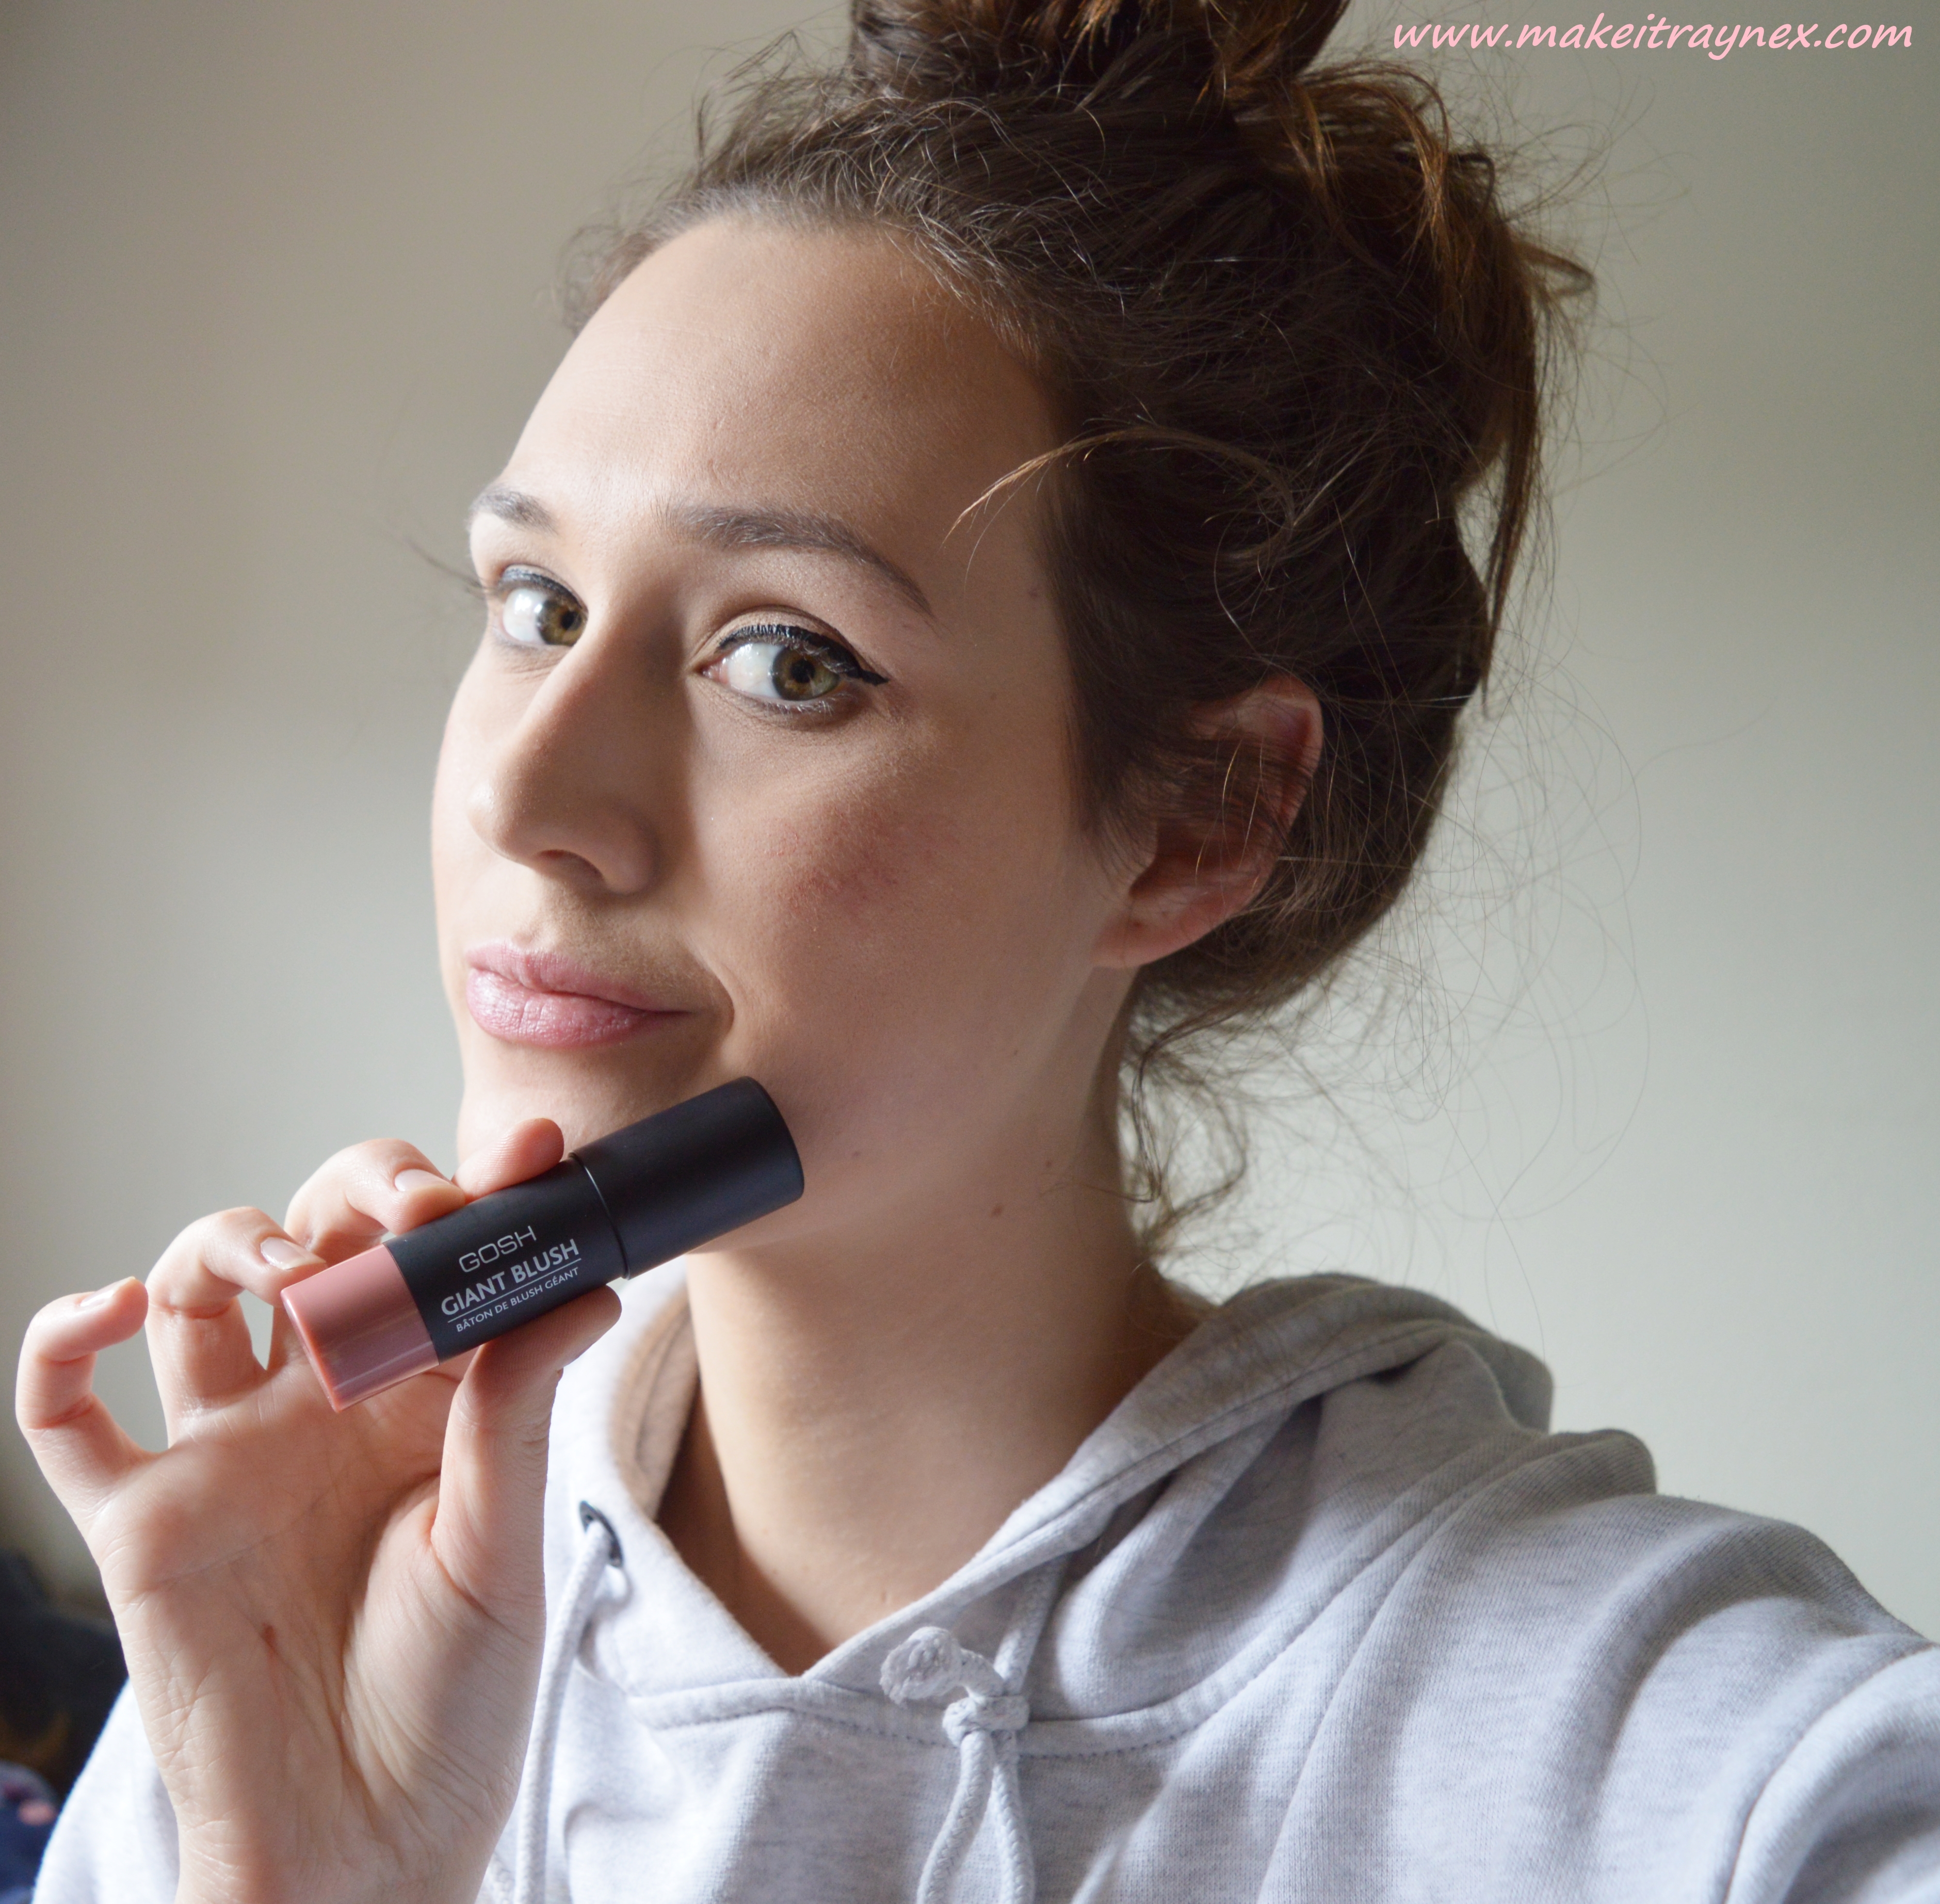
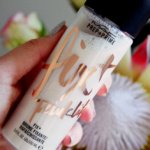
STEP 8: Then my favourite item from GOSH right now! The Giant Blush in the colour 02 SHY. I rarely ever use cream blushes but my oh my, I can’t deal with how gorgeous the colour is. The perfect understated peachy colour and it lasts for about five hours before needing a touch up. And look at how gigantic that blush is? This will last FOREVER. You can blend the colour out using your fingers or a beauty sponge.
STEP 9: My second last step is to apply half a million coats of mascara. Or however many you want. I always apply loads of layers because I love the “false lashes” look. A good GOSH mascara to go for is the Amazing Length Mascara because its quite buildable and the defined brush allows for lengthened AND separated lashes.
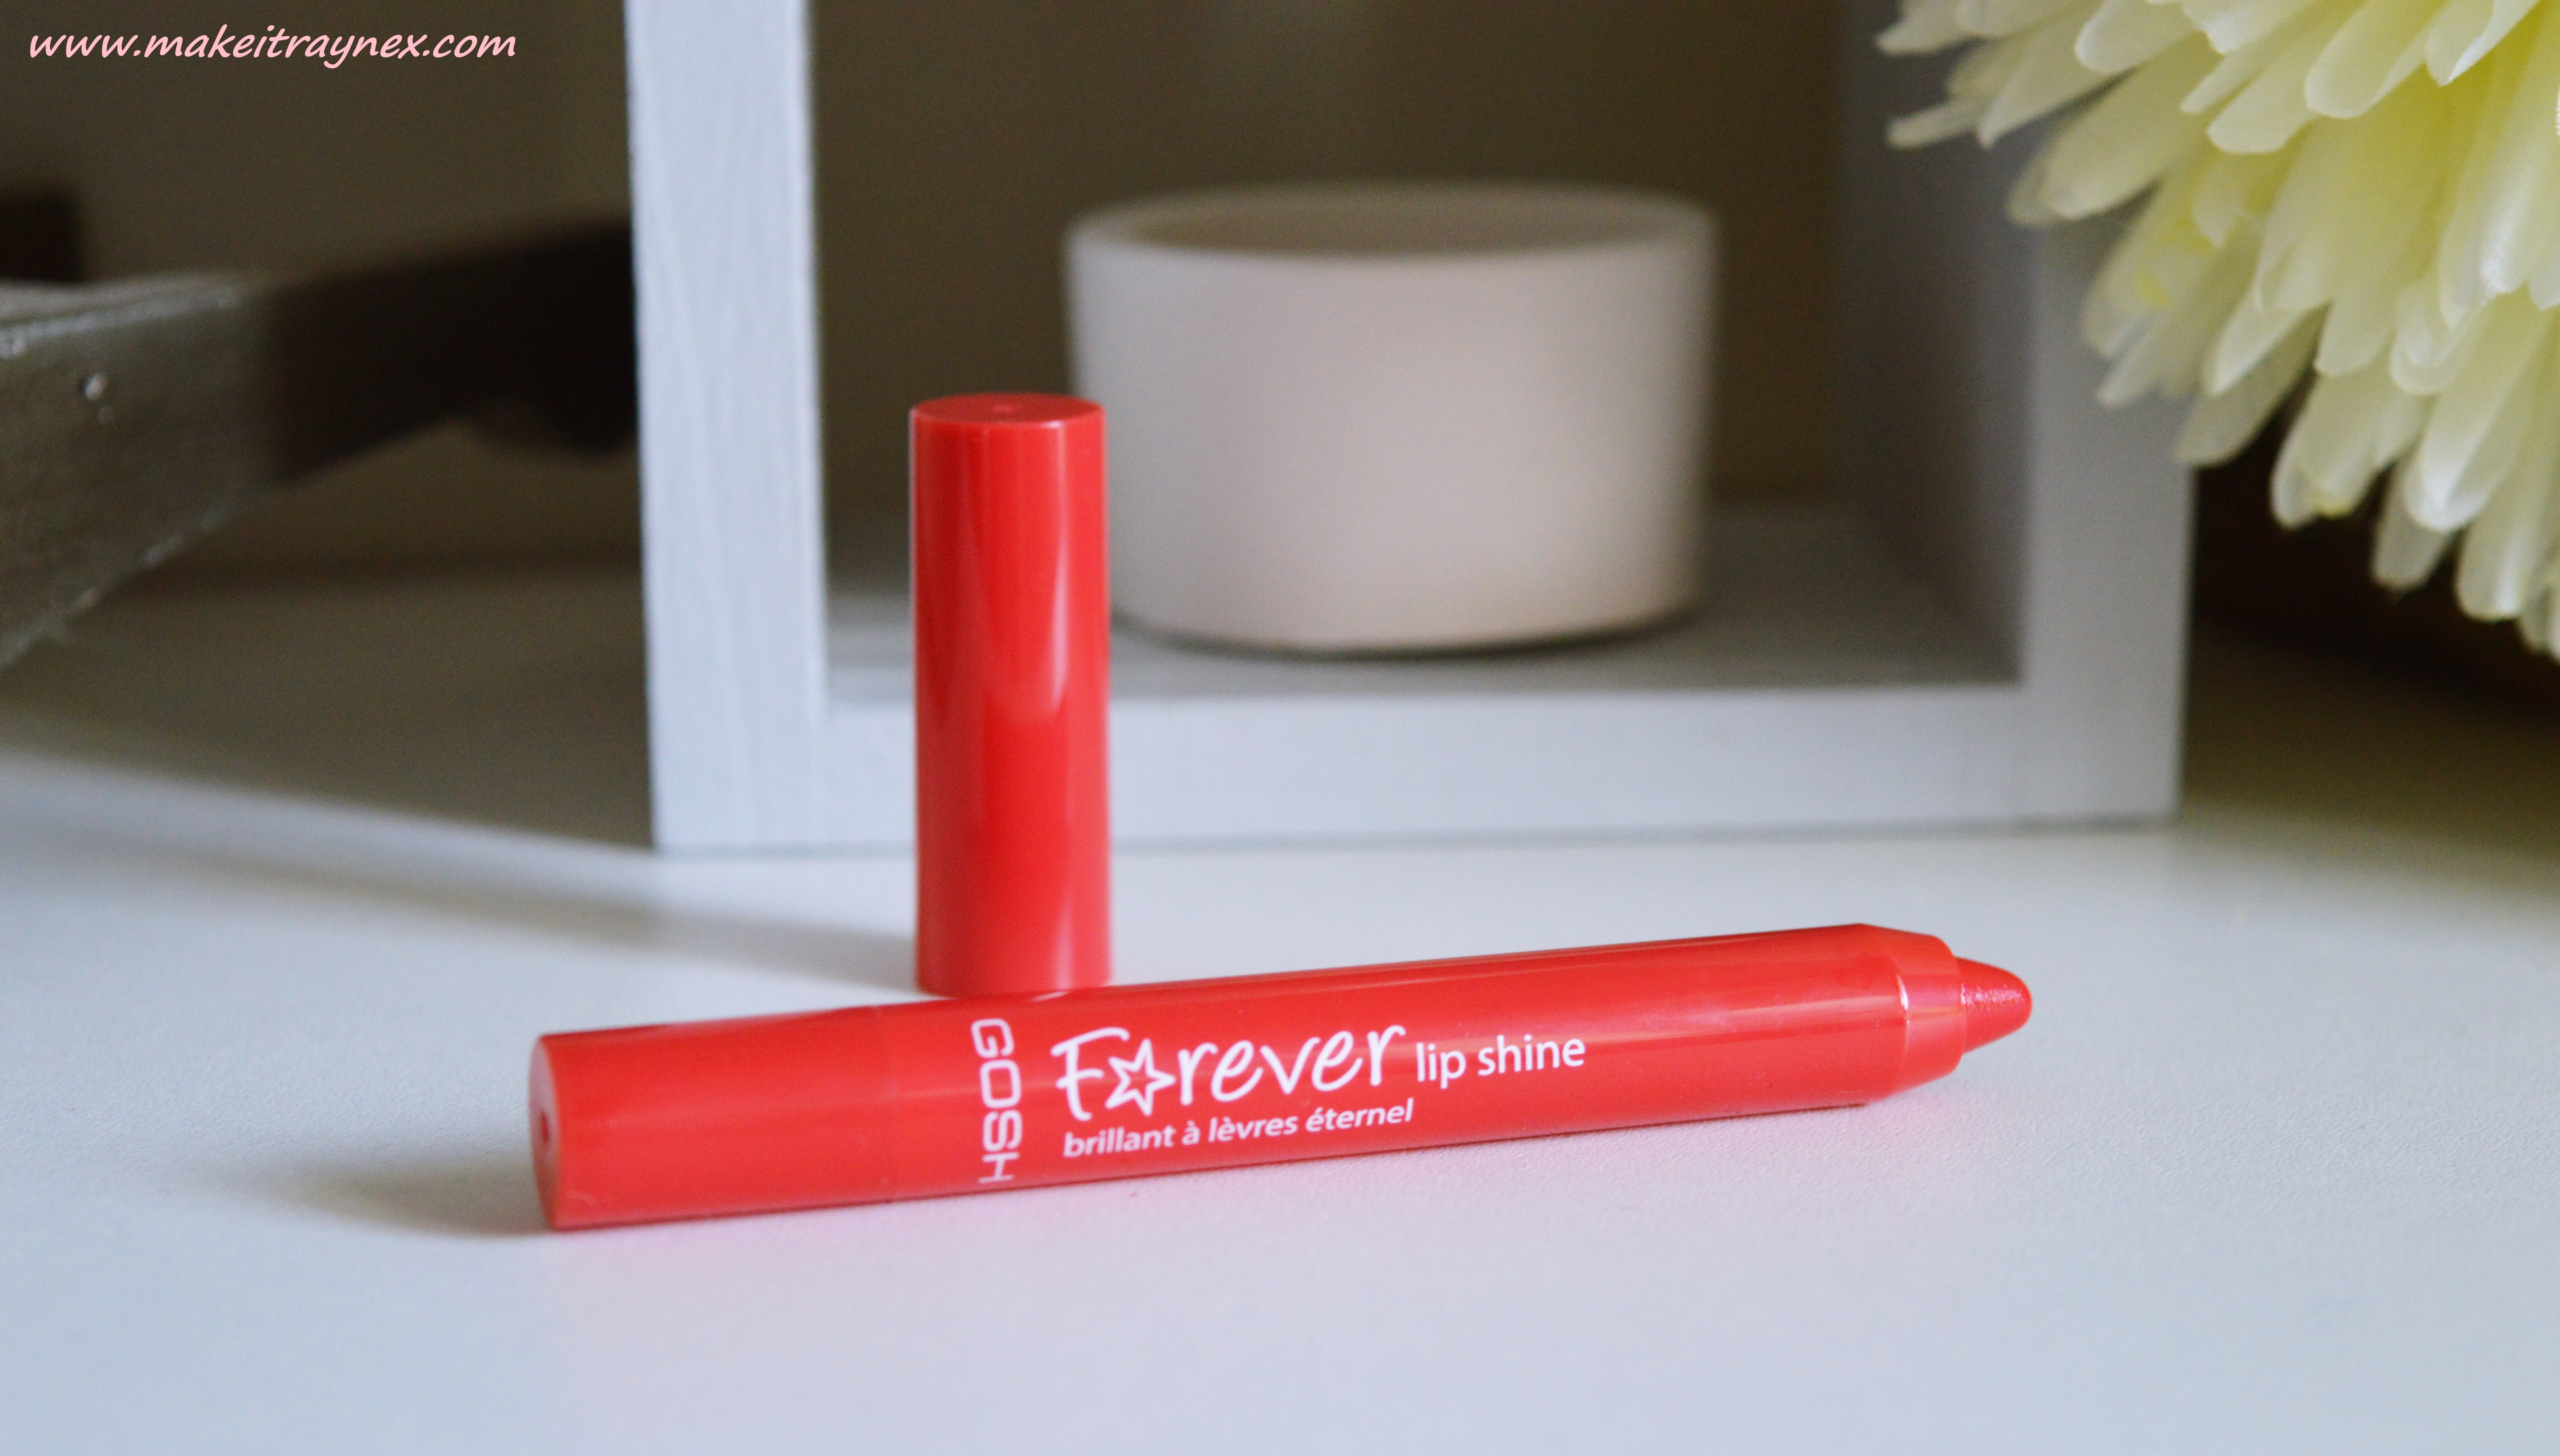
STEP 10: And the final step! Apply your lip colour of choice. At first I thought this Lip Shine in the colour 008 Spring Fling would be a sheer lip balm-y sort of product but in actuality its an opaque block colour which doesn’t require a lipliner (BONUS POINTS FOR YOU GOSH). This colour certainly put a spring into MY step and if you follow me on Snapchat you will have seen me wearing this for about a week straight!
A final note before I end off my post; I just had to mention one last thing that I love about the GOSH cosmetic line. Grab a GOSH item and turn it over and check the expiration date.. Their products have amazing expiration dates! None of this 6 month nonsense that some brands have. The gel liner lasts 9 months, the bronzer 18 months, the eyeshadows 30 months and the lip products 36 months. That’s THREE YEARS out of one product.
If that doesn’t give you reason to be buying GOSH galore then I don’t know what does…
**GOSH products can be found exclusively at Edgars and Red Square stores.

What did you think of this Spring inspired look? Do you have your eye on any of these products?
Rayne XX


So where can one buy Gosh products?.
They are available at all Edgars and Red Square stores 🙂
LOVE this post! Your makeup is absolutely stunning – you’re a winged liner whizz! Totally jealous! x