Welcome to Part 2 of my K-Beauty routine. I had a feeling that Part 1 was going to be very well received and I was not wrong. Since publishing that post I have had some queries so I have tried my best to answer those Q’s within this post, as well as edit Part 1 to include answers to questions pertaining to that post. Be sure to leave any comments and queries in the comment section at the bottom of this post – I would love to assist in your K-Beauty skincare journey!
Step 6 – Serums/Ampoules
Serum and ampoule products are a category I have dabbled in in the past but, like with toners, I never quite understood what they did and where they needed to be inserted in my routine.
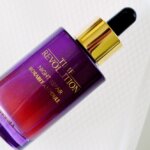
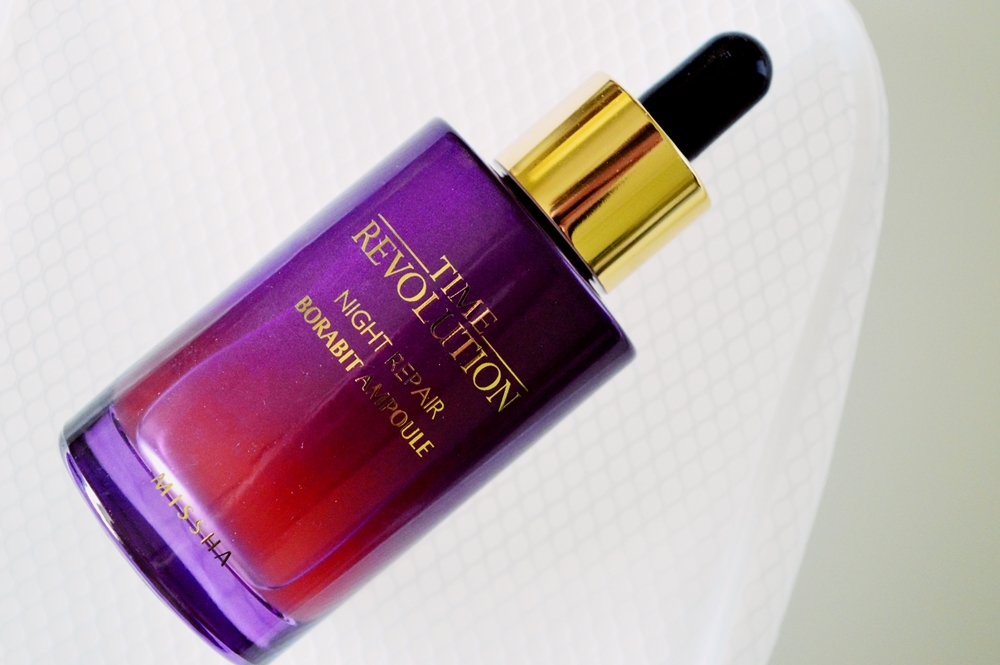
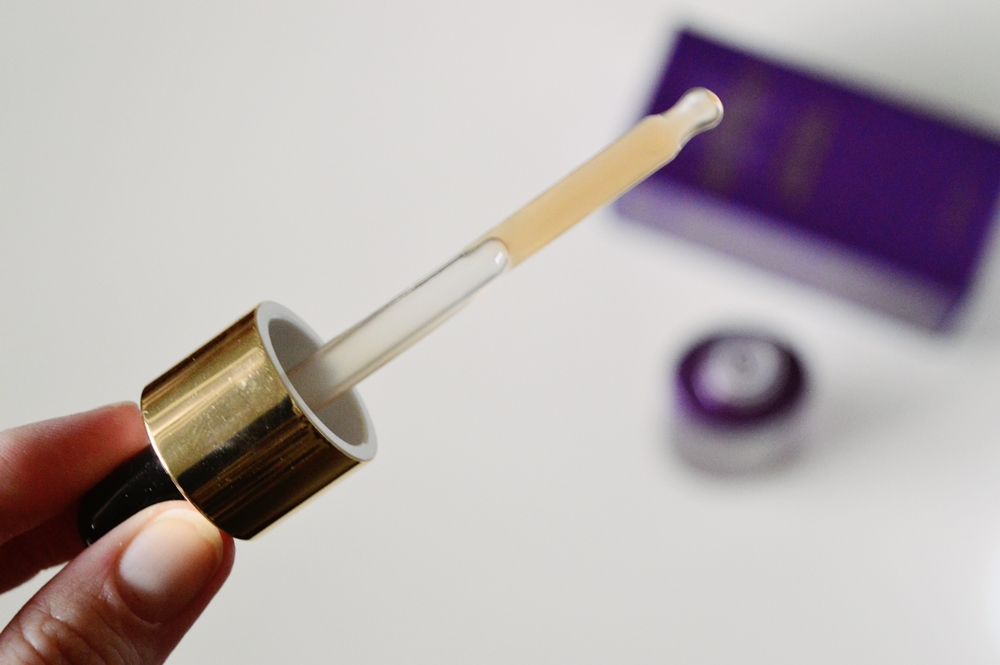
Serums and ampoules are designed to target an individual’s skincare concerns. I am currently using the MISSHA Time Revolution Activator Ampoule (R650). This is a luxe, thick consistency dropper-housed concentrated essential Ampoule.
As mentioned, all serums and ampoules target specific skin concerns. This MISSHA Time Revolution is designed to “repair, moisturize, firm, revitalizes, and nourish the skin giving you a radiant even skin tone with regular use. The formula is powerful yet gentle enough for sensitive skin.” Because I have been using a full K-Beauty routine I cannot put my improved skin down to particular products, but I do think this is one of the key products thus far. My skin has never looked firmer and as nourished and healthy.
In the past I have used a handful of variations of ampoules from Babor (R843) and they are all incredible. Really, every single range has worked beautifully.
Step 7 – Sheet Masks
Known as the “soul of the K-Beauty routine”. This is the one step in the 10 that I do not stick to every night. While I use some fantastic sheet masks that have incredible price tags (roughly R35 for a great one), that still amounts to R245 a week and just over R1000 a month. Instead I mask with a sheet mask once a week and I try and coincide it to the day of – or night before – a special event.
I love that K-Beauty puts so much emphasis on the sheet mask because of it’s relaxing abilities. The 10 – 20 mins spending self love on yourself is seen as being as imperative as the mask itself. I love to reap the benefits of the mask but quite literally squeezing the packaging as tight as it will go to get every drop out. Once I have used the mask I will wring it out and apply the excess serum on my hands and chest area.
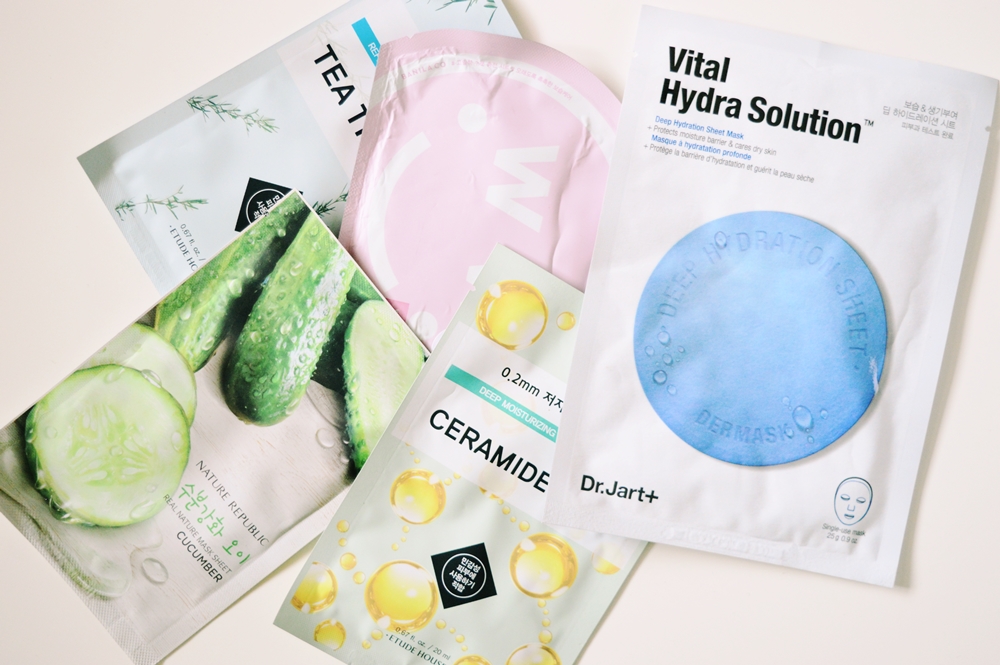
For the step that I leave out the most, I have a ridiculous amount of favourites! But here are a few:
- Cucumber Real Nature Sheet Mask from Nature Republic (R250 for a pack of 10)
- Vital Hydra Solution from Dr. Jart+ (R60)
- Ceramide/Tea Tree Masks from Etude House (R35)
- Dear Hydration Sheet Mask from Banila Co. (R35)
- Drops of Youth Youth Concentrate Sheet Mask (R95)
To note: if you are a fan of other masks such as clay masks, exfoliation masks etc, I insert these after step 3 (exfoliation) and before step 4 (toner).
Step 8 – Eye Cream
I am about to hit you with another ravey-rave of a product.. But this is the BEST eye-cream I have ever used. I am “only 25” but realistically you are meant to begin using eye-cream as soon as you develop lines. And my lines began when I was around 21.
The eye-cream in question is the innisfree Jeju Orchid Eye Cream (R400) and it formulated to strengthen, firm, smooth, nourish and brighten the look of the skin around the eyes. I have spoken about my battles with under-eye bags and discolouration many, MANY times before but this really helps alleviate that hollow look that I sometimes have.
Something to note is that you really have to be consistent with this step. You will only see results if you stick to your routine. The other side of the coin is that you will also see results quickly! I also like to dab the excess eye-cream onto my lid itself. I don’t know if this has any benefits but I notice it preps the eye slightly for eye-shadow application.
Another option that I enjoy using is the stress positive eye lift from dermalogica. It is an extremely handy product that disperses the formula via a cooling nozzle. You can imagine this goes a great way in de-puffing the look of your eyes as well as firming the under-eye skin. Definitely another great option (if you have a little more money to spend).
Step 9 – Moisturiser
Emulsions, lotions, gels or creams help to lock in moisture, plump up skin and smooth away fine lines. This is exactly why your moisturiser and ninth step is ABSOLUTE KEY. There are many different options on offer so always do your research as much as possible before splurging on a moisturiser. You can choose a moisturiser that can be used day and night or you can opt to use two different variations geared towards day and nightly use.
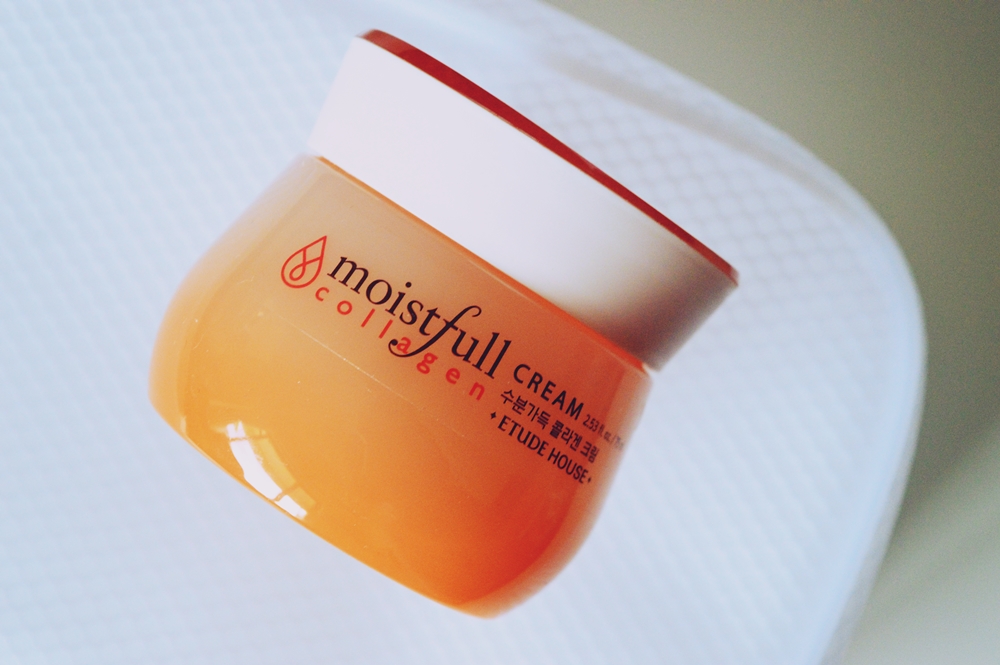
I apply my moisturiser while my essence is still slightly damp. I am currently using the Moistfull Collagen Cream (R299) from ETUDE HOUSE as both a day and night cream.
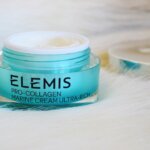
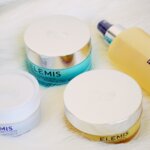
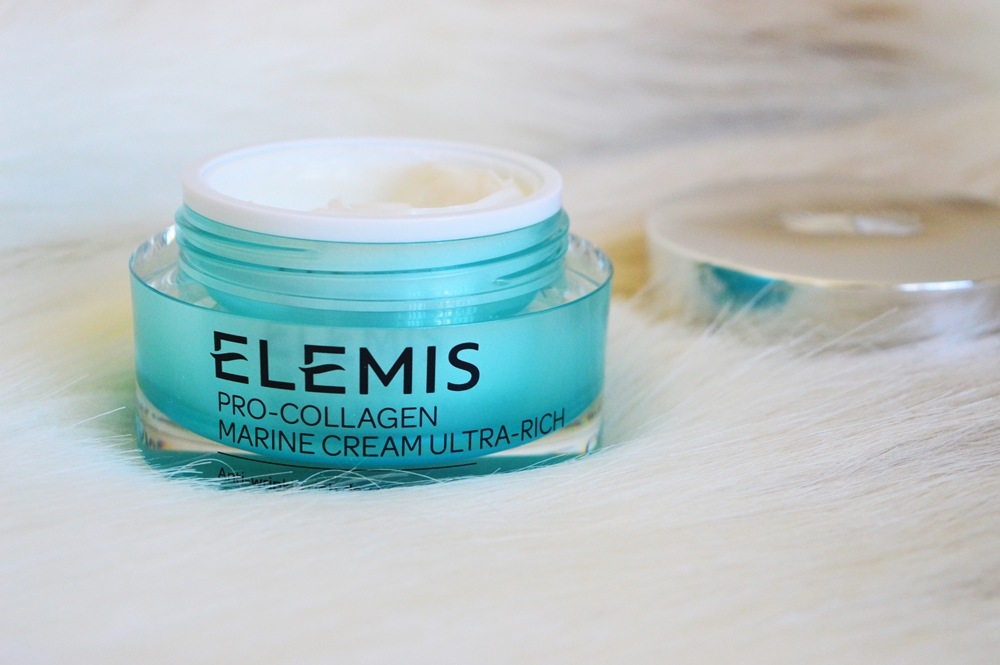
Another great option for day and night creams are the ELEMIS Superfood Day (R920) & Night creams (R1,010) which I spoke about in this post. Aaaand the ELEMIS Pro-Collagen Marine Cream Ultra-Rich (R2,235) is another absolute favourite for me if you have the money to spare. It is a hefty price-tag but well worth every single cent.
Step 10 – Sun Protection/SPF
And finally, THE MOST important part of any and every skincare routine. SPF ALWAYS. I still have friends who will sit in the sun for an entire day without a drop of sunscreen on. It makes my skin crawl just thinking about it.
It sounds like a cliché but you even need to apply SPF if there isn’t any sun out. This is always your final step in your routine and therefore there should be no excuse to leave it out. At the moment I am using the Sunprise Mild Airy Finish SPF50+ PA+++ (R250) from Etude House.
This is one of the best sellers from iconic Etude House and I am not surprised. I dab this all over my face and chest area right after applying my moisturiser and it does not affect my make-up application whatsoever. I find it has fantastic priming abilities on top of being a great sunscreen. It has a semi-tacky feeling but not in a way that is irritating or disturbs your foundation.
And that is it for Part 2 and my entire Korean Beauty skincare routine. To close, I feel like I need to mention yet again that I honestly and truly feel that this indepth routine is something that we should all be following. Of course people get busy and there is not always the time to follow all 10 steps on a nightly basis, but try and make it happen when you can. If you skin out the mask, the routine takes less than 7 minutes. And you don’t even apply SPF at night, so you are already a step down! 😉
If you have queries please feel free to leave any questions in the comment section or contact me on Instagram/Facebook. There are also some super helpful articles and blog posts on my two go-to K-Beauty sites; Dewyface and Glow Theory, so be sure to check those out.
Rayne XX
