
Hello lovelies! And thanks for checking back in to my blog 🙂
Today I decided to finally branch out and try something a little bit different for me. I am putting up my first ever make-up pictorial! I probably wear this look about once a week, whenever I am looking to try out a new lip colour for my Lip Look series or something like that. During the day no-one really sees me as I am an au pair, so the people who do see me are eight years old and I am generally in no mood to wear expensive make-up just for them. I decided to put together this step-by-step as it is SO easy and we all love to moan about how we cannot create a perfect cat-eye but honestly if you use this easy trick you will become a pro instantly.
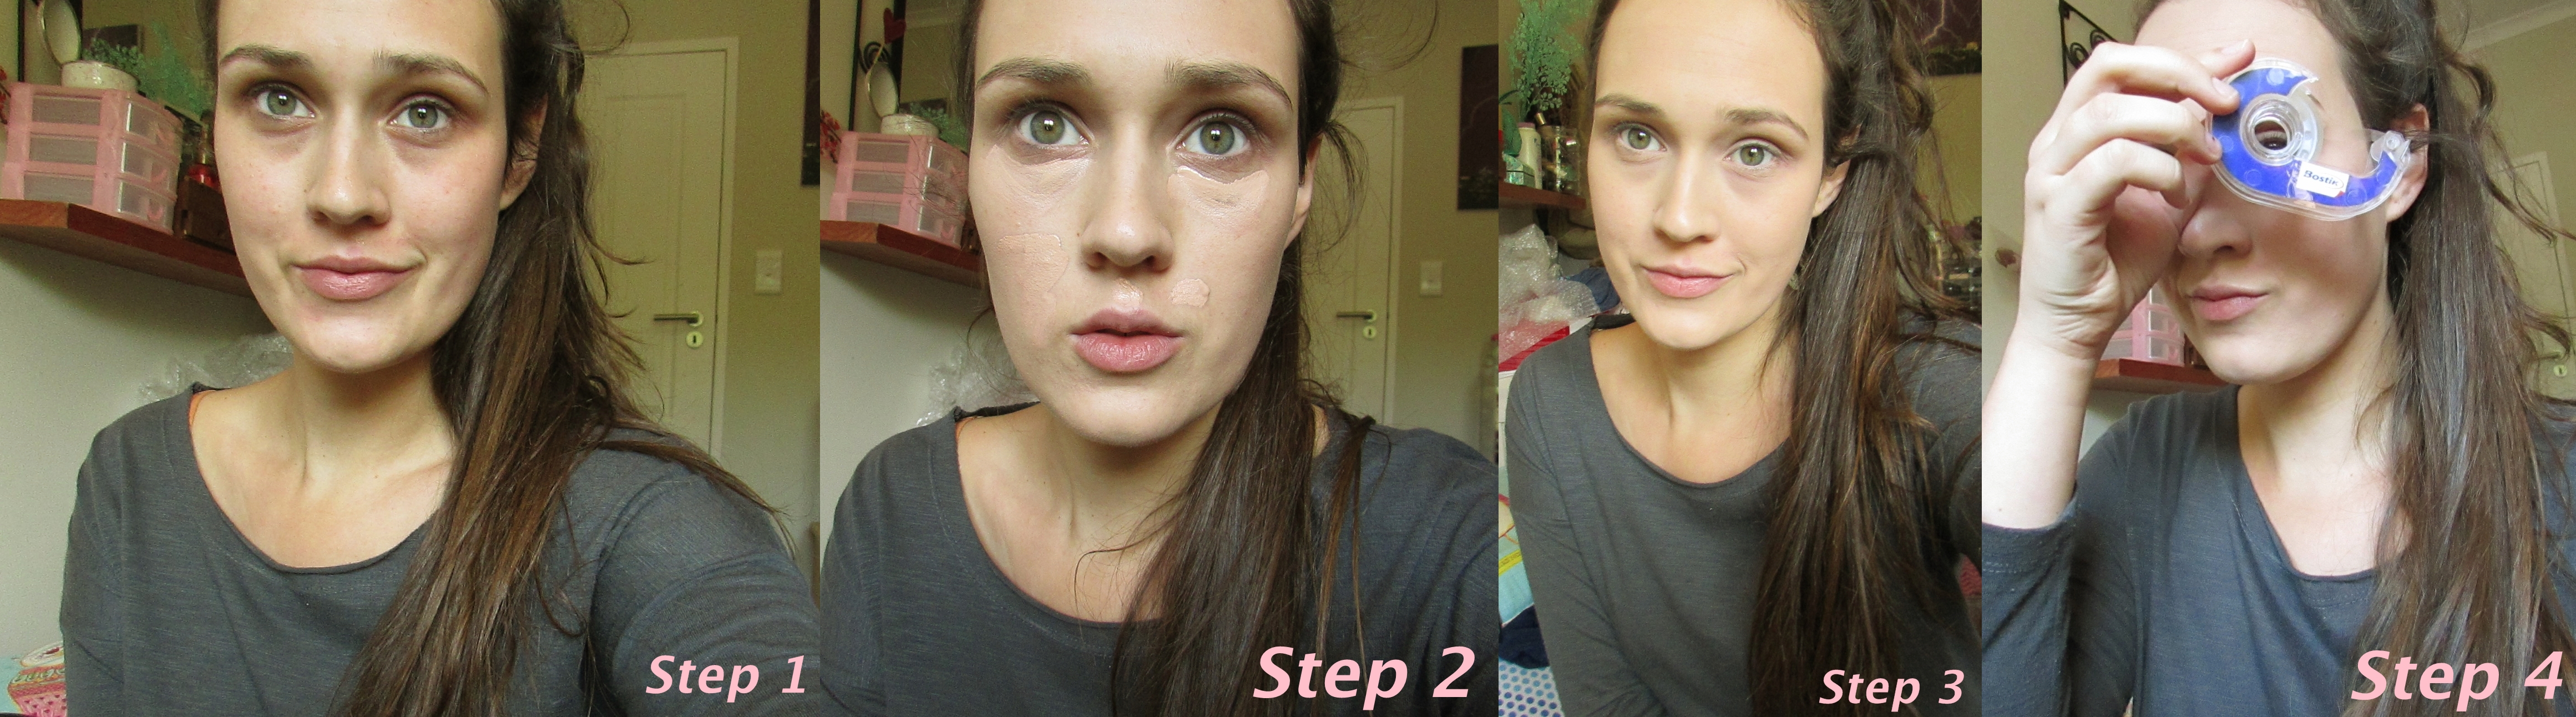
Step 1: Whoa thats a scary face.. Apply your primer in the areas which you need it. I love using my GOSH Anti-Wrinkle Primer because I have fine lines on my forehead and this really helps the foundation to stop creasing in that area. I also apply it on my T-zone and anywhere where I have spots and redness.
Step 2: “Put on your war paint.” Conceal areas which need concealment. I use Collection Lasting Perfection concealer for my undereye circles (thanks, Dad) and the L.A. Girl Pro HD Concealer for any blemishes and redness. I pat everything in with my UBU Blender Baby which I dampen before use. And yes I look super scared and I don’t know why I put pictures up because Steps 1, 2 and 3 are awful BUT YOLO.
Step 3: Apply foundation/BB cream/CC cream on top of your blended concealer. Then I always apply a setting powder to keep everything in place. I like to leave my foundation on for a few minutes to settle before powdering up. I used my M.A.C Prep + Prime Translucent Powder because its super lightweight. Usually I will apply a second layer of concealer OVER my foundation, but in all the excitement of taking photos, I forgot to do that.
Step 4: Get out your magic weapon.
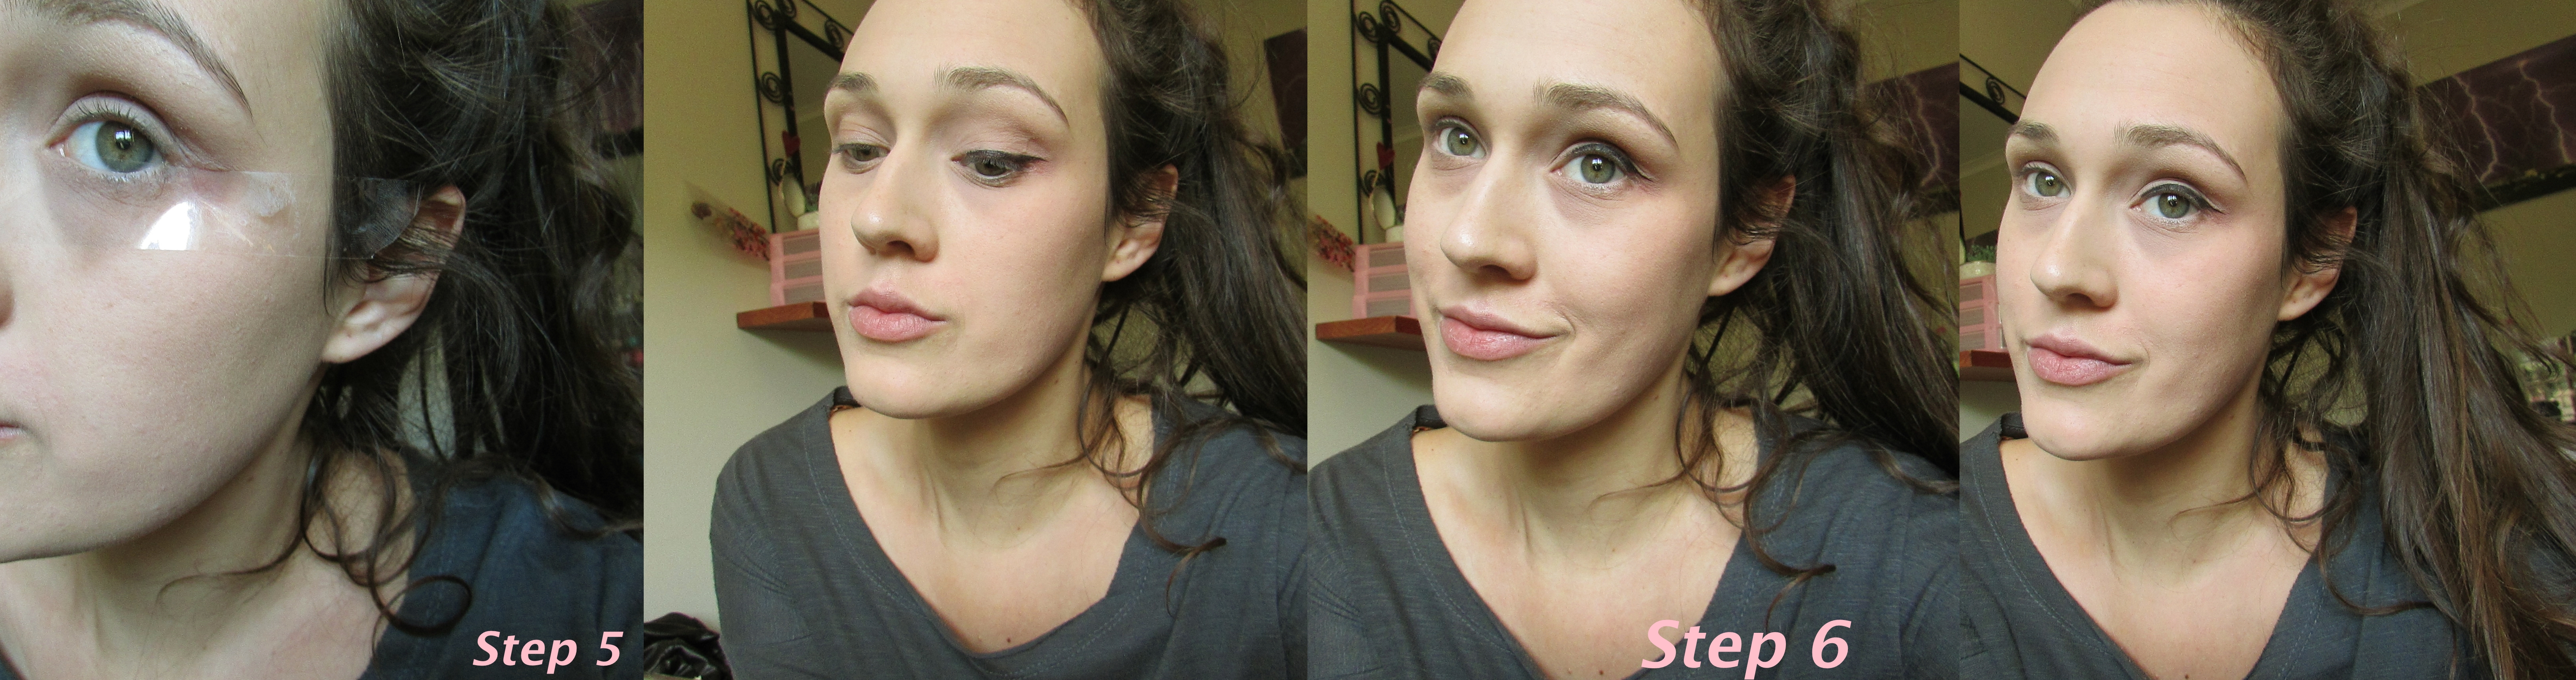
Step 5: Apply the sellotape in an upwards angle right against your eye. If you want a more sultry look then I would suggest a more diagonal line but I find that those make my eyes look smaller so I generally go for an almost horizontal line.
Step 6: Simply take your pen (in this case I would recommend only using a khoki/nib/marker eyeliner and not a pencil because it looks sleeker but a pencil can also be used in dire situations) and just draw straight from the side where the sellotape sits to the middle of your eye. It is honestly as easy as that. When you remove the tape you will also remove the excess ink and it will leave a lovely neat line. I would also recommend maybe pulling on your eye skin and making it taut (yes, I KNOW we should never do that to our eye area) if you have very creasy eyelids like myself. I used the L’Oreal Blackbuster Marker because a thicker marker does the trick with just one or two swipes. However, a thinner marker will do the trick just as well.
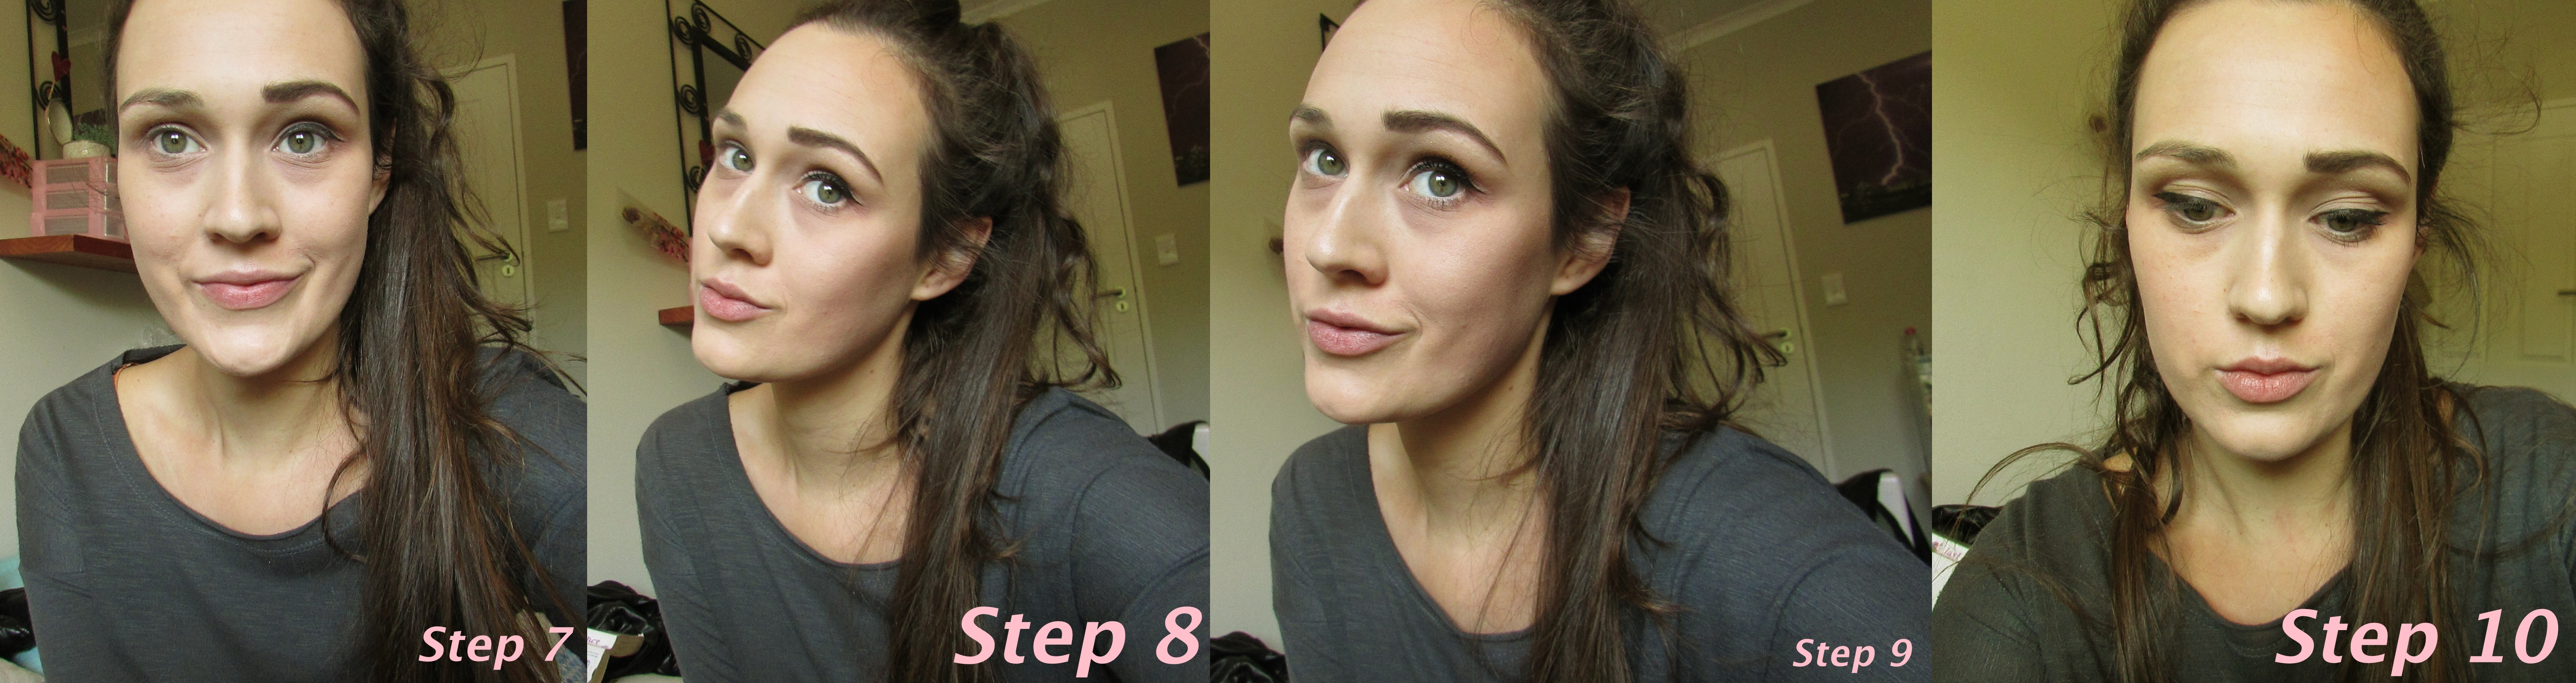
Apply a highlighter underneath your eyebrows so that there is some definition when you “put your eyebrows on”. Also take this time to neaten up any patchy lines that may have developed while your eyes were drying.
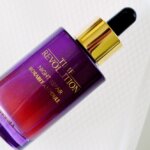
Step 7: Put yo’ brows on guuurl. I chose to use my favourite Make-Up Revolution Focus & Fix Eyebrow Shaping Kit in the second darkest colour.
Steps 8 & 9: Apply a light contour on your cheekbones (I used Australis’ Bronzing Powder which is unfortunately not available in SA) and then apply some of the same highlighter that you used before just above your bronzer. I also like to add some highlighter to my cupids bow to enhance the overall look of the lipstick once its applied.
Step 10: And repeat all of this on the other side of your face.
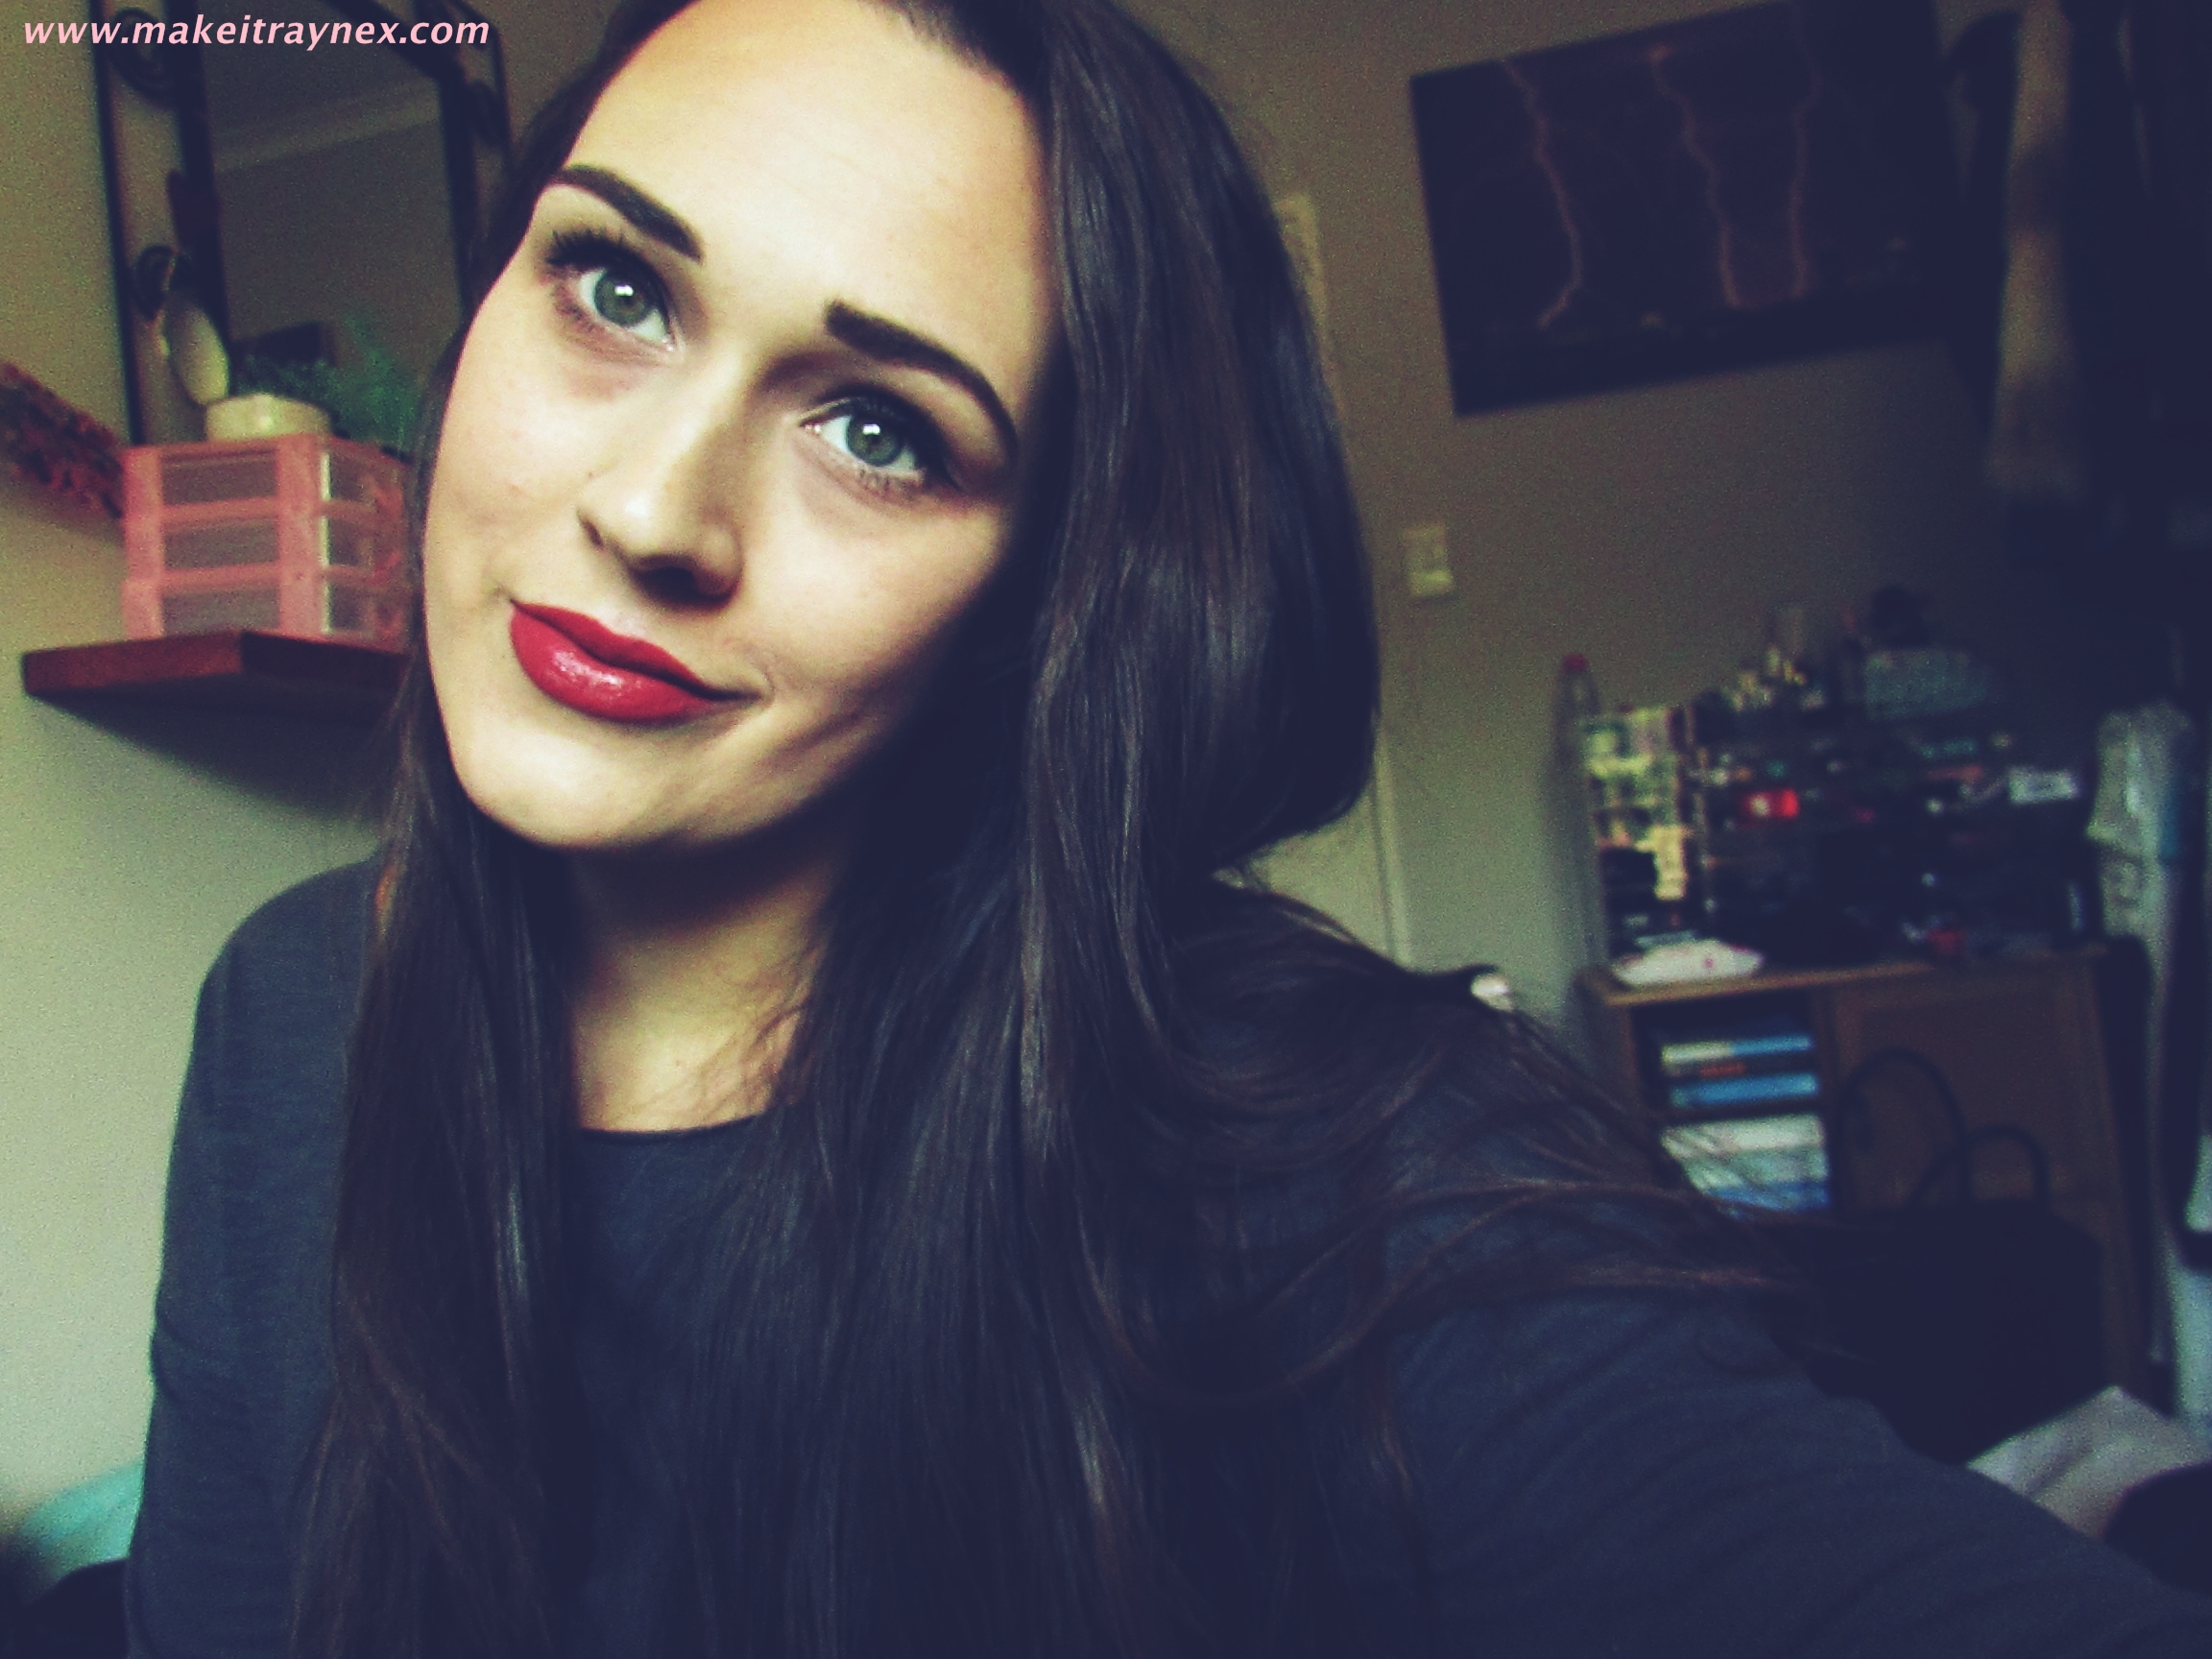
Step 11: Time for the best part; some sexy lipstick. Pin-up looks are usually paired with a deep red lipstick but with my colouring and undereye bags (thanks, Dad, again) I just cannot pull it off so I opted for this luxurious burnt orange Bourjois lipstick in 05 Brun Boheme from their Rogue Edition range.
Step 12: And voila!! I added some vintagey photo effects to top off the entire look.

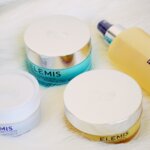
Exact items used – some have reviews linked to feel free to check those out:
– GOSH Anti-Wrinkle Primer
– Collection Lasting Perfection 16 Hour Concealer
– L.A. Girl HD Pro Concealer
– Yves Rocher Plumping Serum Foundation
– M.A.C Prep + Prime Translucent Powder
– Sellotape 😛
– L’Oreal Blackbuster Marker
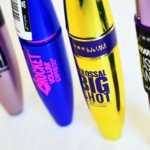
– Maybelline Volum’ Express Mascara
– L’Oreal Oh So Couture Mascara
– Australis Bronzing Powder
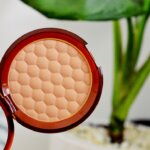
– M.A.C Mineralize Skinfinish in Lightscapade
– Make-Up Revolution Focus & Fix Eyebrow Shaping Kit
– Bourjois Rogue Edition lipstick in 05 Brun Boheme
I really hope you enjoyed reading my first ever make-up pictorial! What did you think? And do you have any recommendations on how to combat creasy eyelids? Please leave any helpful comments below!
Rayne XX


That lip colour is gorgeous!!
CANDICE | BEAUTY CANDY LOVES
OMG I loved this!! I laughed the whole way through! Brilliant tutorial friend, you looks stunning….with and without makeup!
xxx
Aww! Biggest compliment ever! (The laughing one) And also your second compliment 😛
Thank you my darling girl XX
Ahhh, well done! Love it! Also need tips for creasy eyelids. 🙂
Brilliant! Such a classic look. Really suits you xx
Sarah |www.seriouslyshallow.co.uk
Gorgeous look!